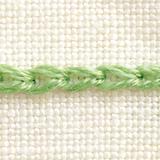


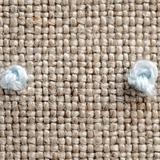
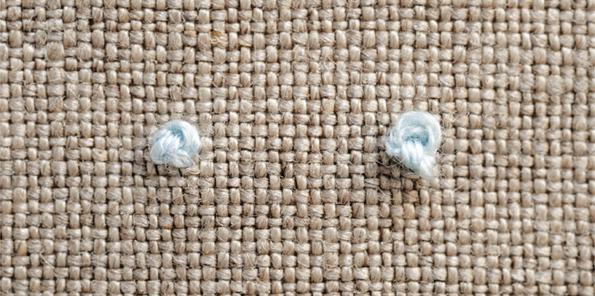
フレンチノットステッチの針目
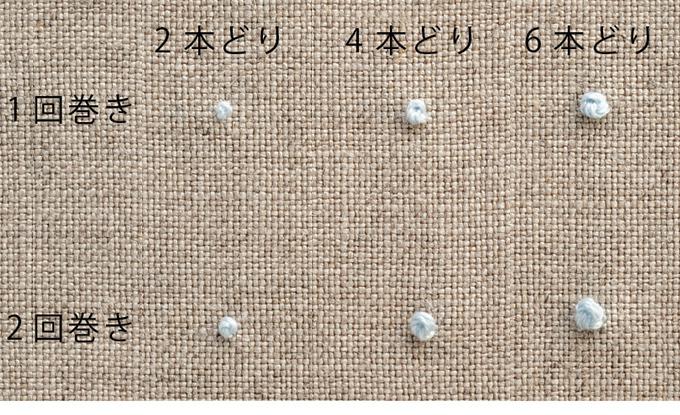
糸の太さ
1回巻き:2本どり、4本どり、6本どり
2回巻き:2本どり、4本どり、6本どり
フレンチノットステッチの刺し方
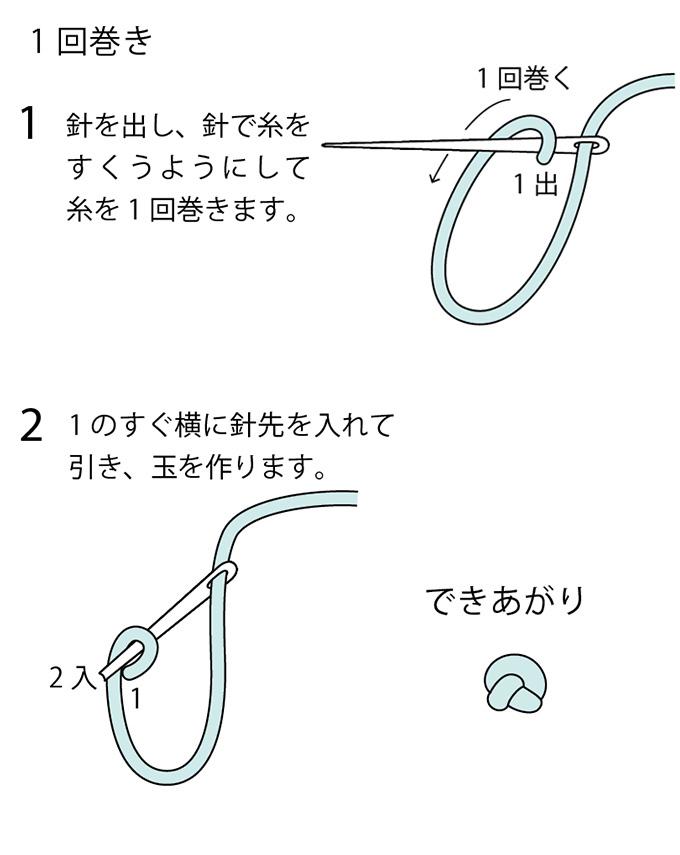
*1回巻き
1 針を出し、針で糸をすくうようにして糸を1回巻きます。
2 1のすぐ横に針先を入れて引き、玉を作ります。
できあがり!
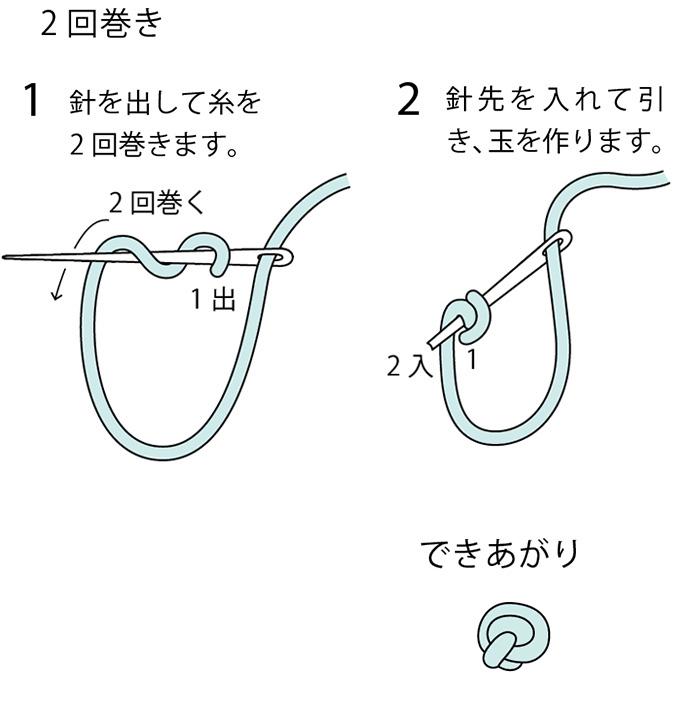
*2回巻き
1 針を出して糸を2回巻きます。
2 針先を入れて引き、玉を作ります。
できあがり!
刺しゅうの基本ステッチをもっと知りたい方
ぬくもりでは、こちらで紹介した以外にも、たくさんの「刺しゅうの基本ステッチ」を紹介しています。