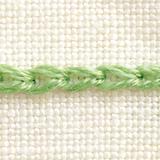


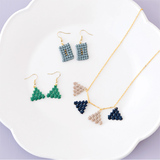


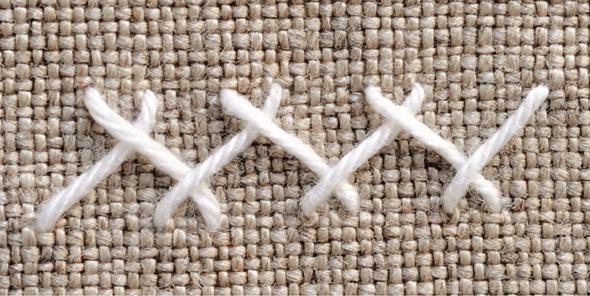
ヘリンボーンステッチの針目
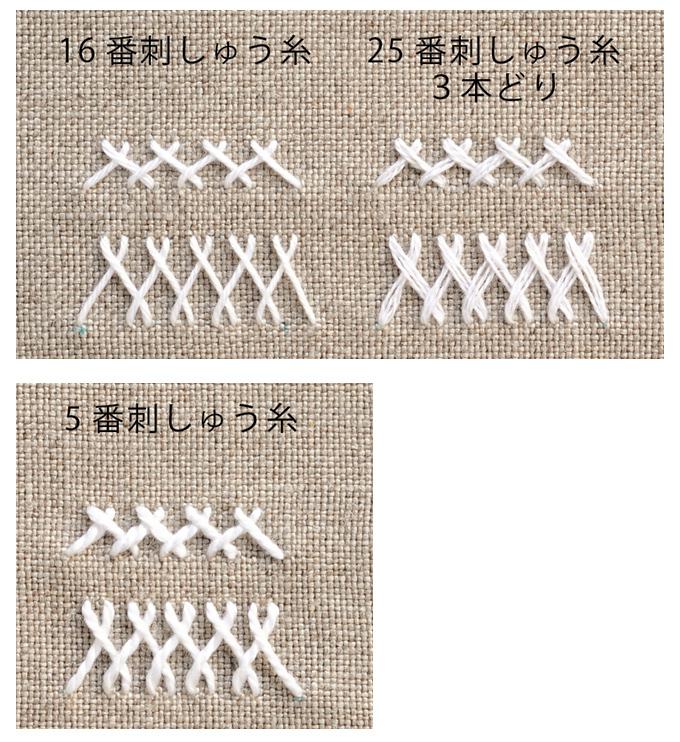
糸の太さ
ヘリンボーンステッチの刺し方
1. 針を出し、高さを決めて上を1針すくいます。
2. 1の糸と斜めの角度が同じ位になるようにして下を1針すくいます。
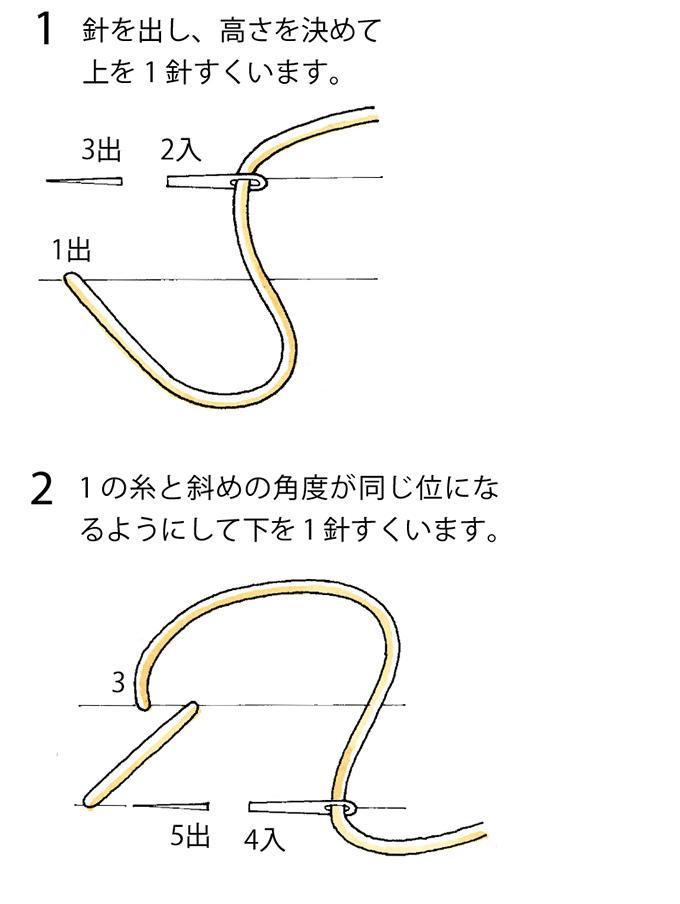
3. 同様に上、下の順にすくって刺します。
できあがり

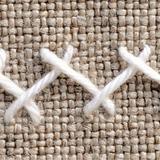
ニシンの骨という面白い名前のステッチ「ヘリンボーンステッチ・千鳥がけ」の刺し方をご紹介。他のステッチと組み合わせることで、様々なライン柄が作り出せるシンプルなステッチです。
1. 針を出し、高さを決めて上を1針すくいます。
2. 1の糸と斜めの角度が同じ位になるようにして下を1針すくいます。
3. 同様に上、下の順にすくって刺します。
できあがり