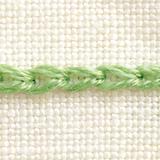


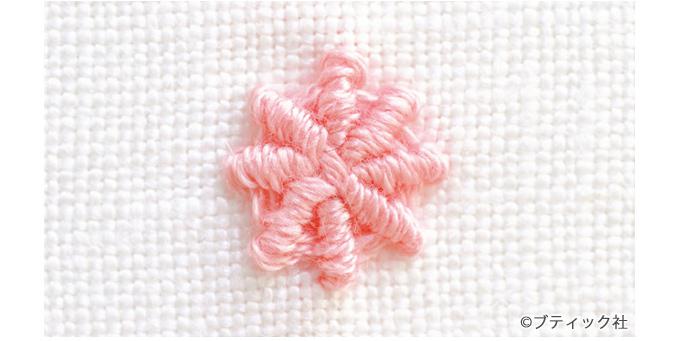
リブドスパイダーステッチの針目
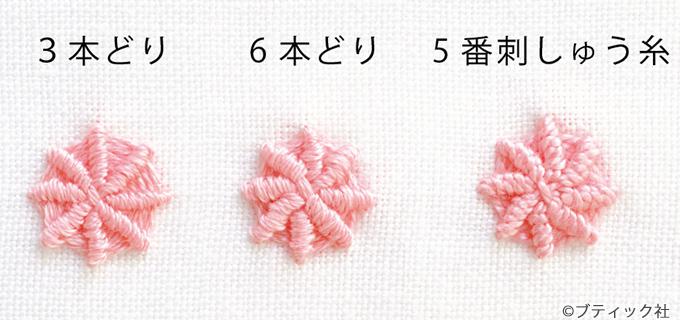
糸の太さ
リブドスパイダーステッチの刺し方
1. ダブルクロスステッチで「芯」を作ります。
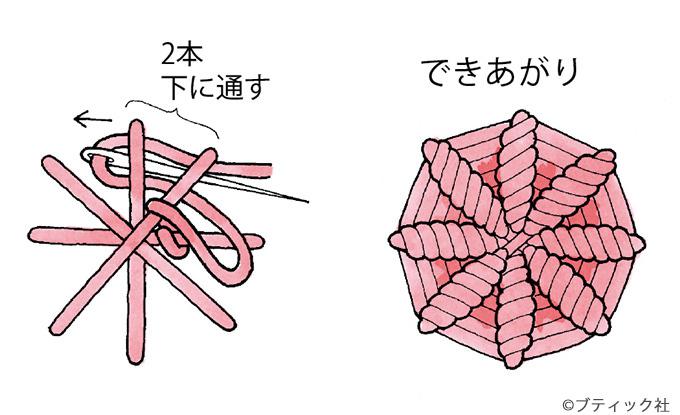
2. 1本分戻ってから2本下に通します。同様に反時計回りに進みます。

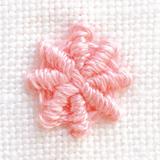
できあがり
クモの巣のような芯をつくり、糸を巻いていく立体的なステッチ「リブドスパイダーステッチ」の刺し方をご紹介。芯以外はクロスステッチ針を使うと、針先から芯の糸をすくえます。
1. ダブルクロスステッチで「芯」を作ります。
2. 1本分戻ってから2本下に通します。同様に反時計回りに進みます。
できあがり