


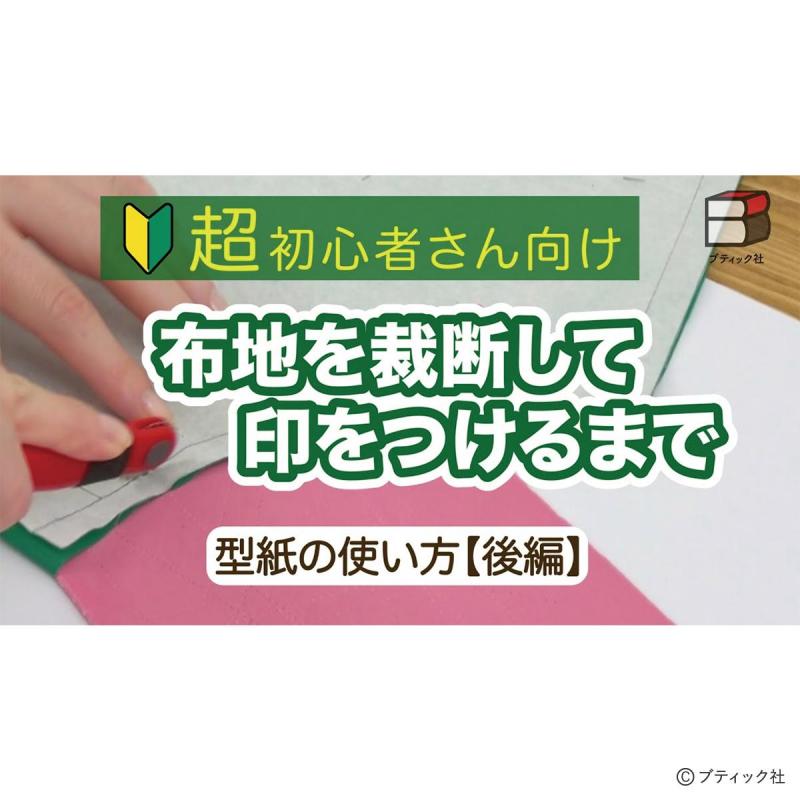

はじめに
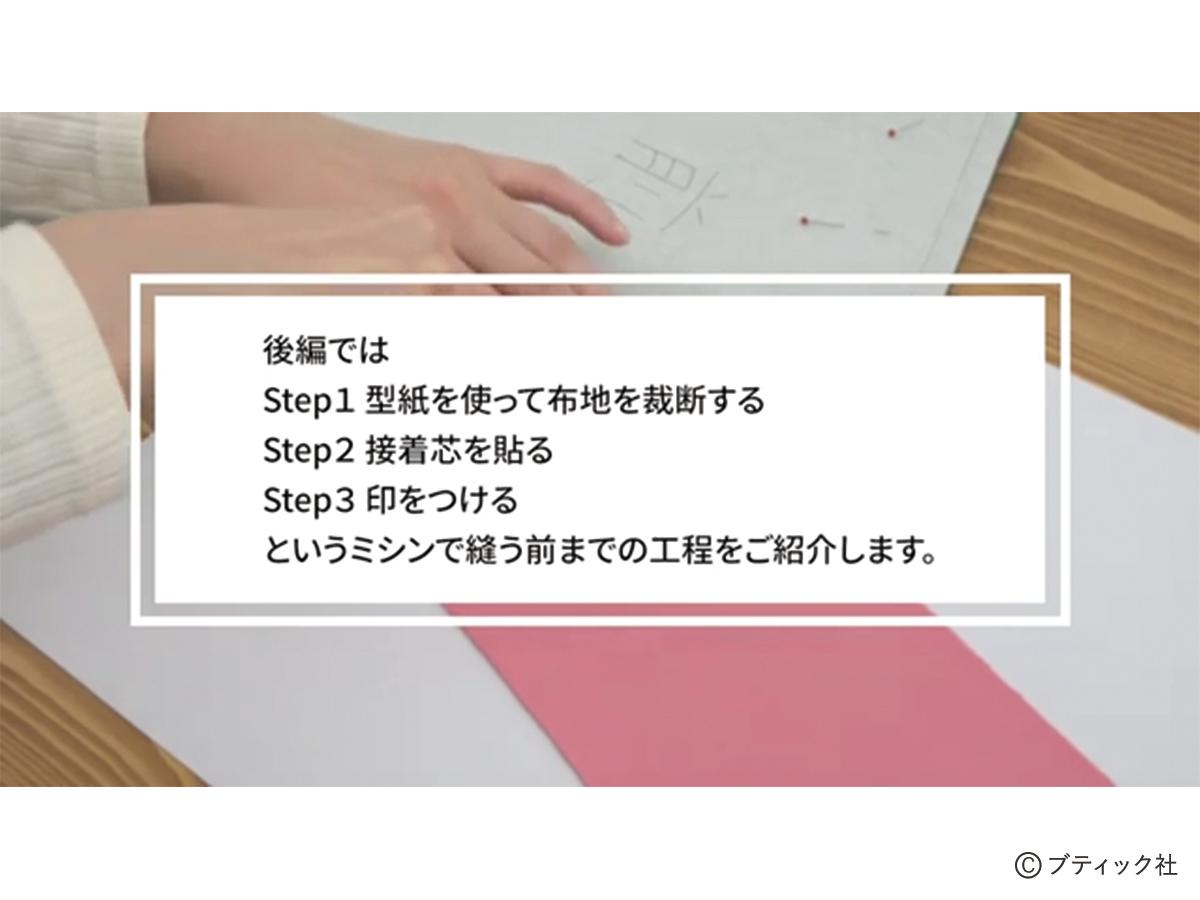
今回の型紙の使い方・後編では、
1.型紙を使って布地を裁断する
2.接着芯を貼る
3.印をつける
というミシンで縫う前までの工程をご紹介します。
それでは始めていきましょう。
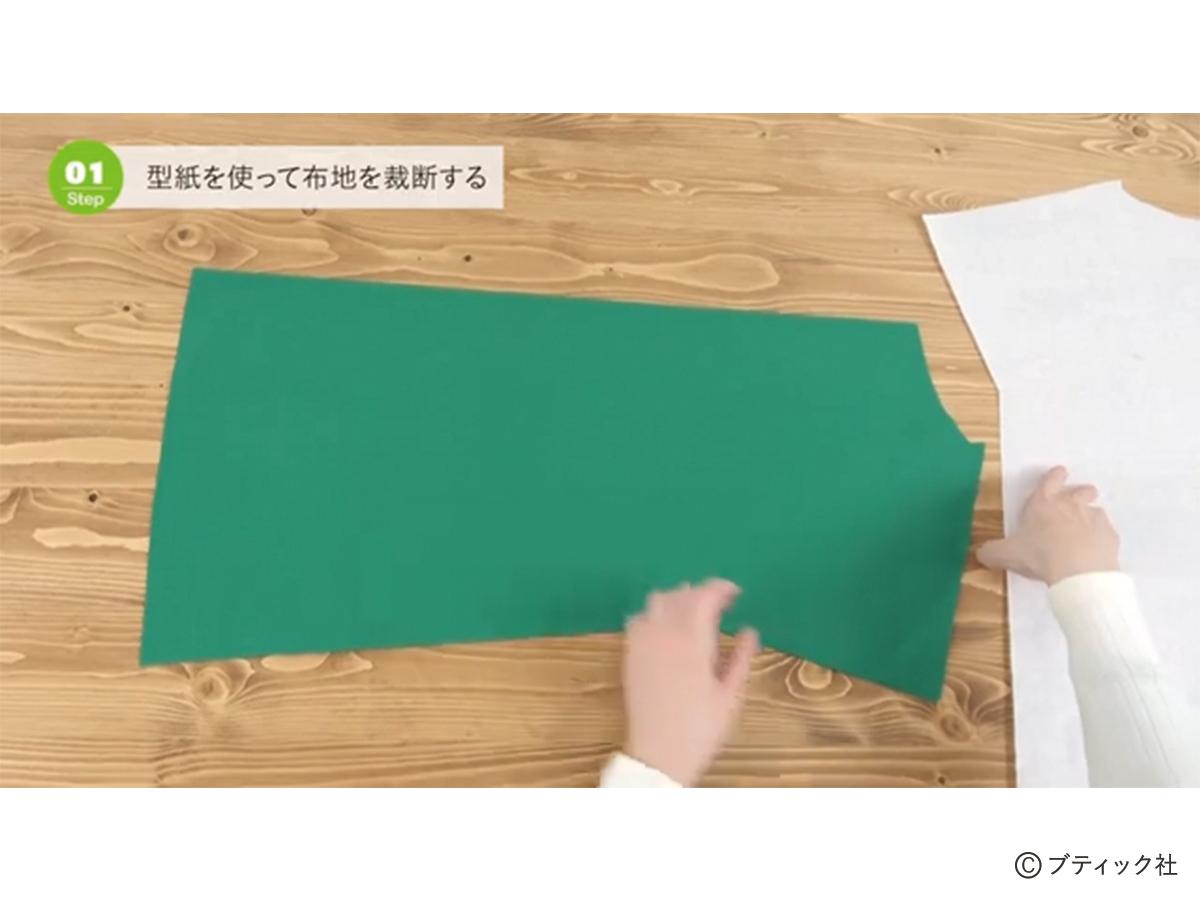
型紙を使って布地を裁断する
使いたい生地を外側が表になるように2つに折ります。
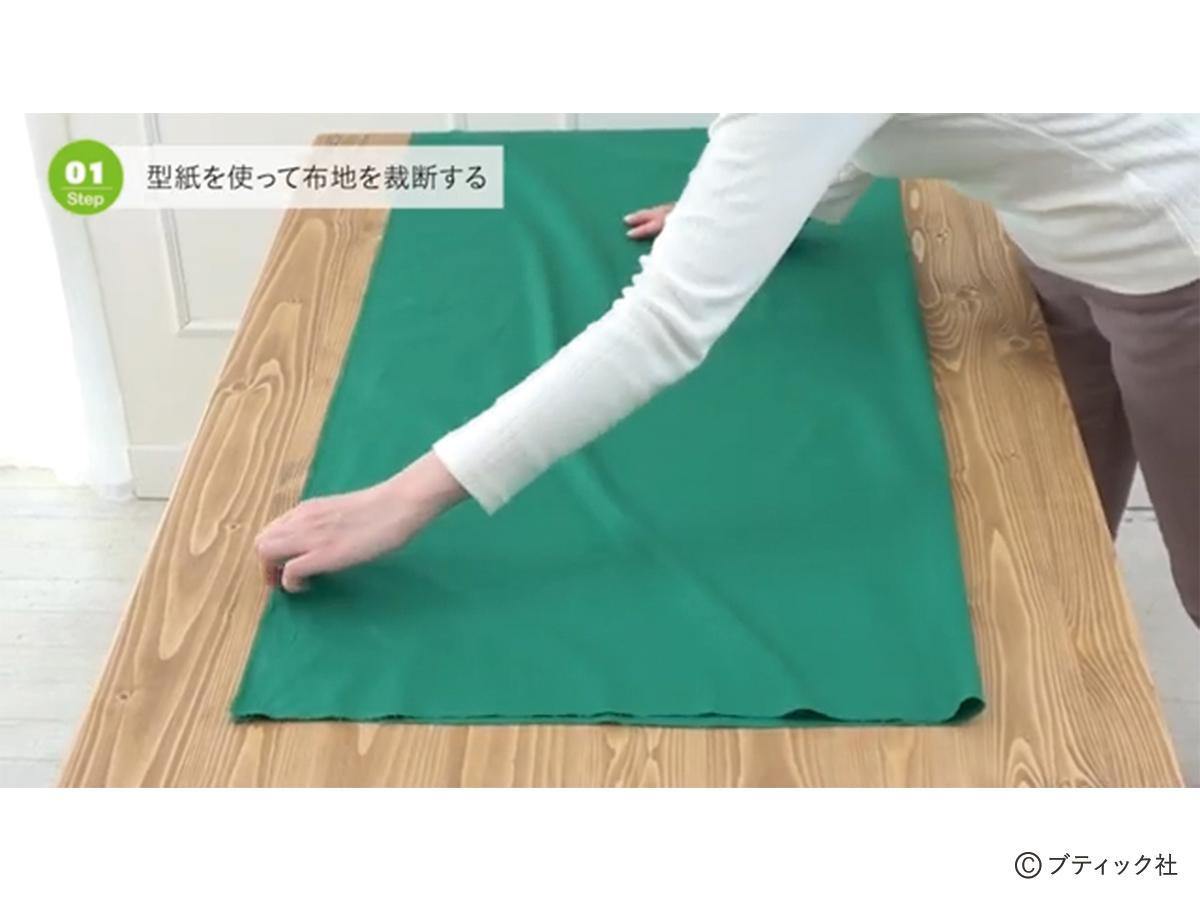
型紙に写した布目の方向と生地の布目の方向を合わせて、作り方ページの「表布の裁ち方図」と同じように型紙を配置します。

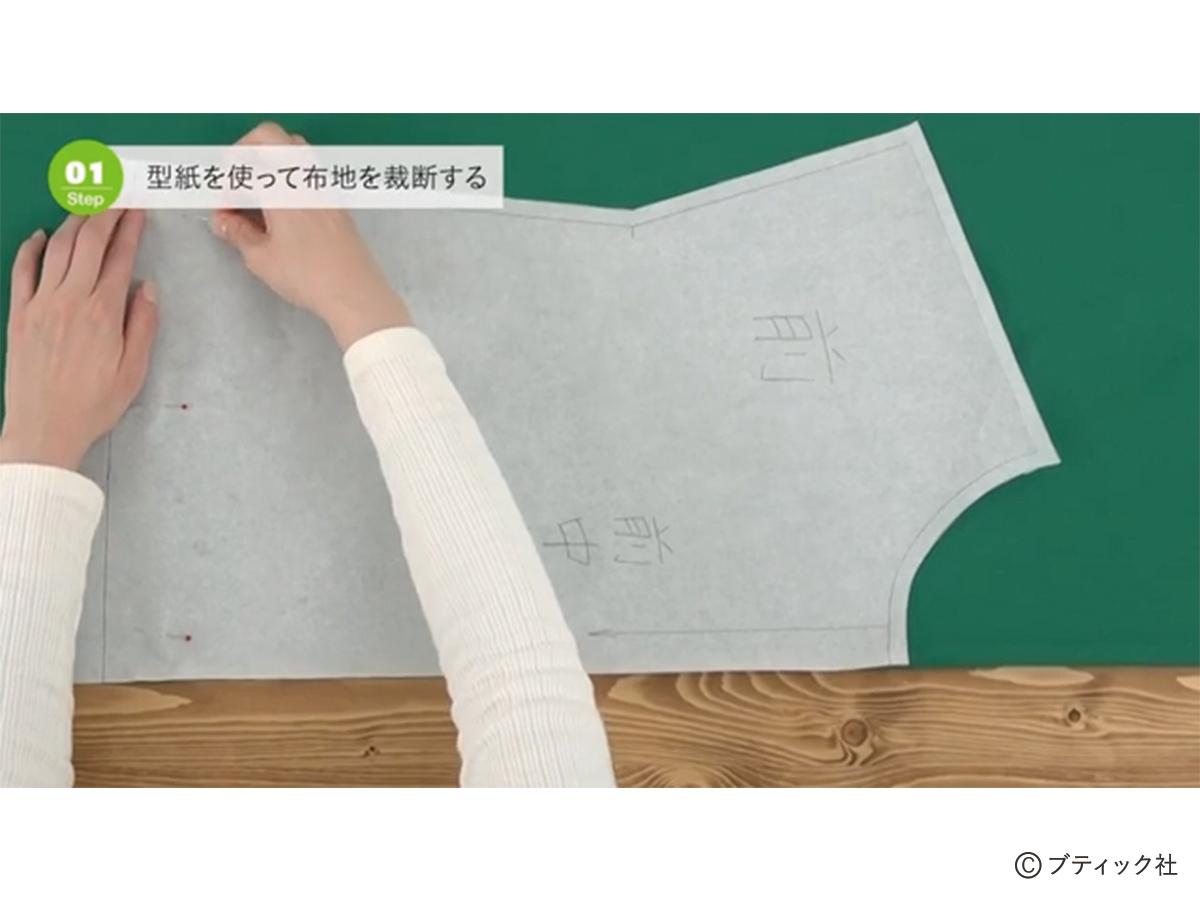
型紙を配置したら「わ」の位置が合っているかもう一度確認してからまち針でとめていきます。
できあがり線より内側をまち針でとめていきましょう。
型紙をまち針でとめたら、型紙の線に沿って布切りハサミで裁断していきます。
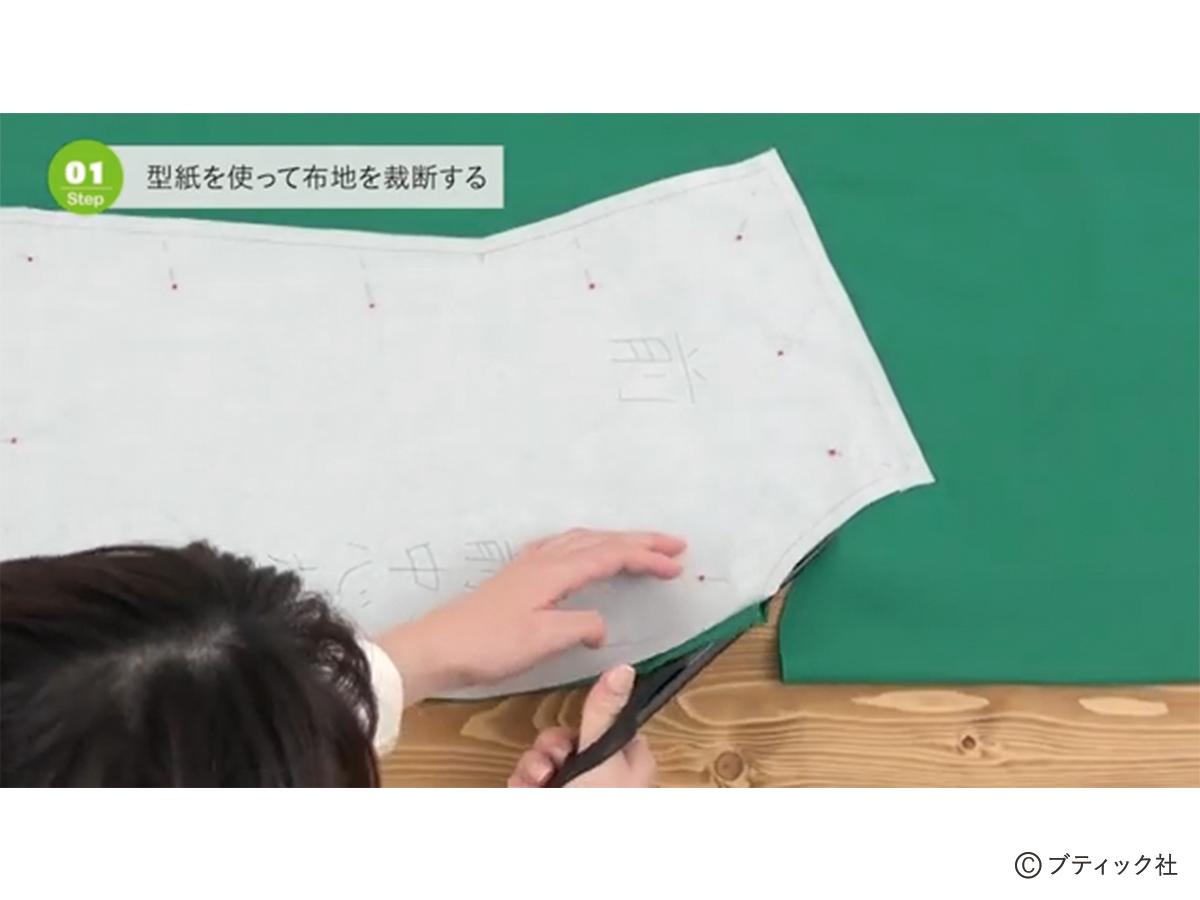
裁断段の時に布を動かすとずれてしまうので、自分が切りやすい位置に移動して裁断していきましょう。
すべてのパーツを裁断していきます。
「表布の裁ち方図」通りに裁断すると後ろ身頃は型紙を裏返しにし裁断しているので、まち針をいったんはずします。
型紙のおもての面が生地の上に重なるように配置し直し、再度まち針でとめていきましょう。
接着芯を貼る

接着芯を貼るパーツは作り方ページの「表布の裁ち方図」を見て確認します。
水玉のような模様のある前後の見返しが今回接着芯を貼るパーツです。