


はじめに|折り紙手芸の基礎
折り紙手芸の基礎は、別記事で紹介しています。
作品を作り始める前に、まずはチェックしましょう!
必要な材料
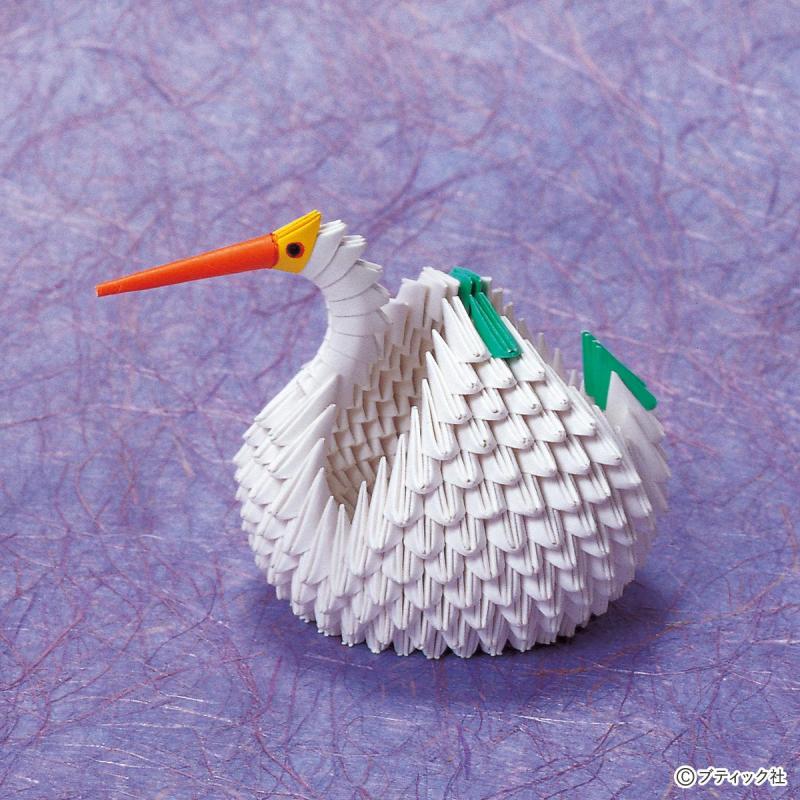
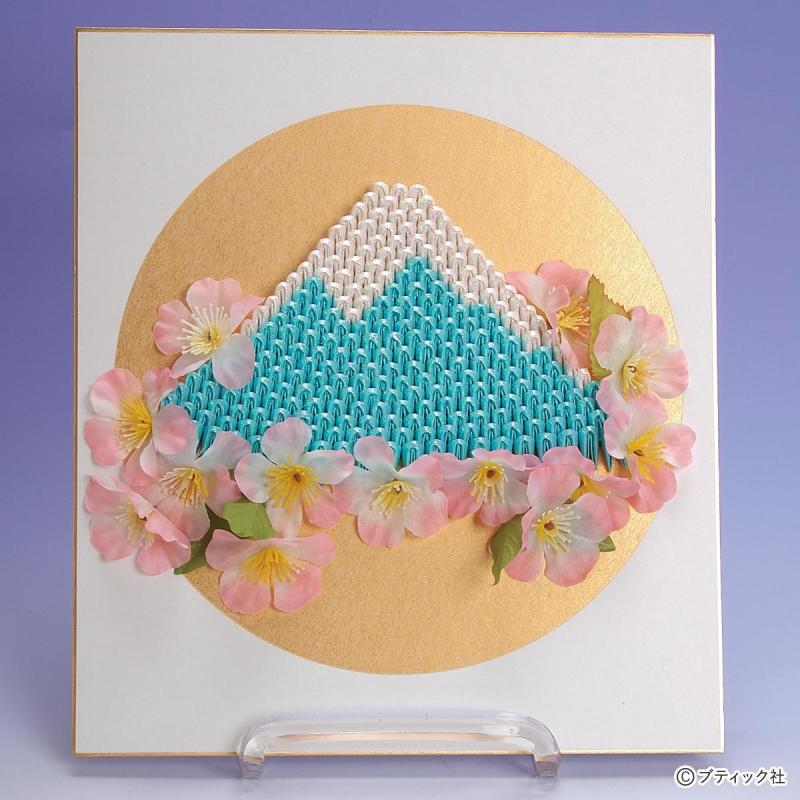
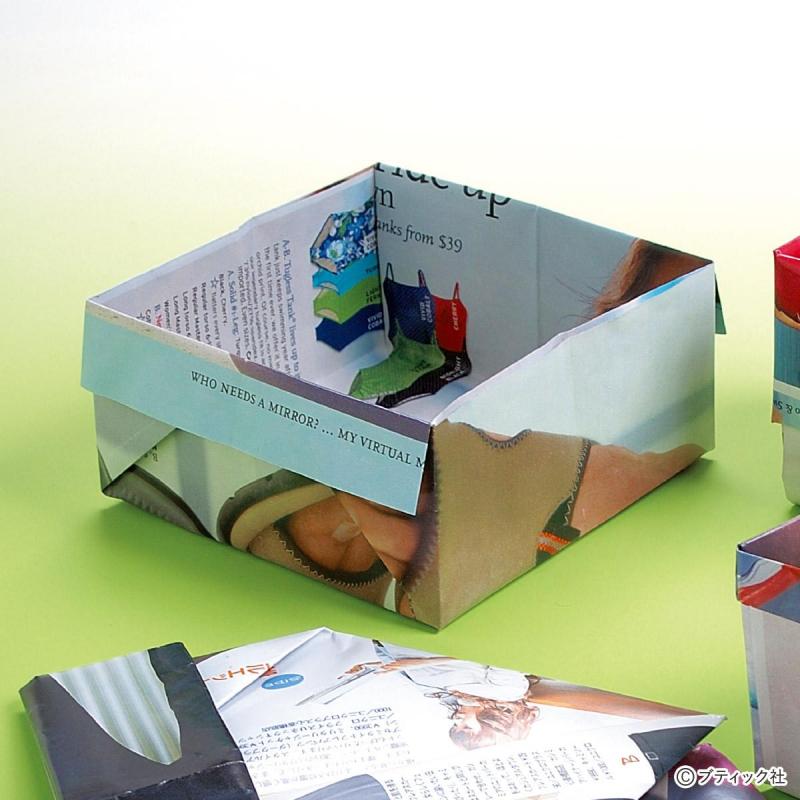
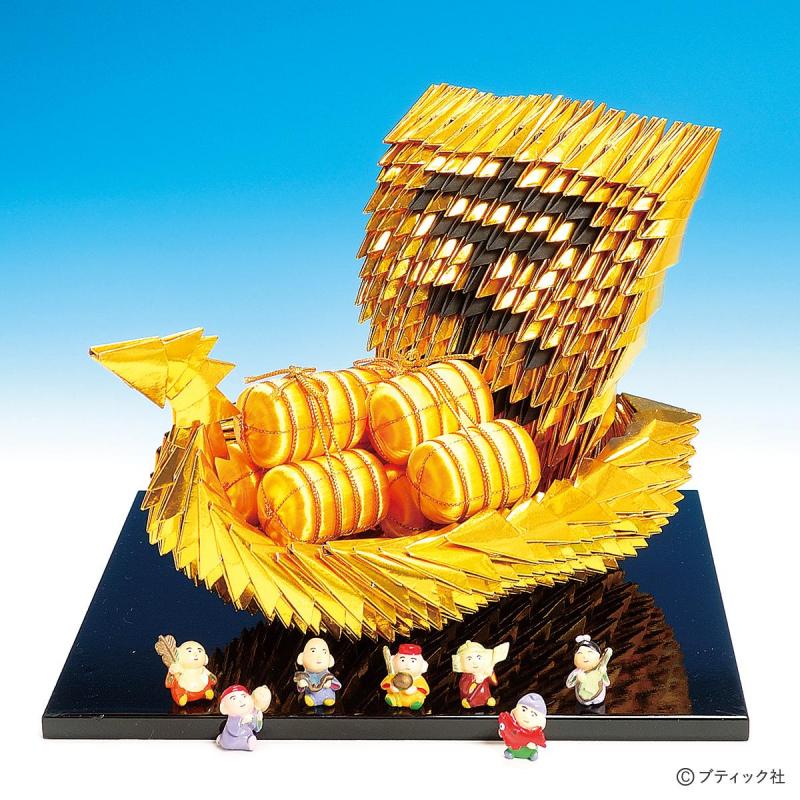
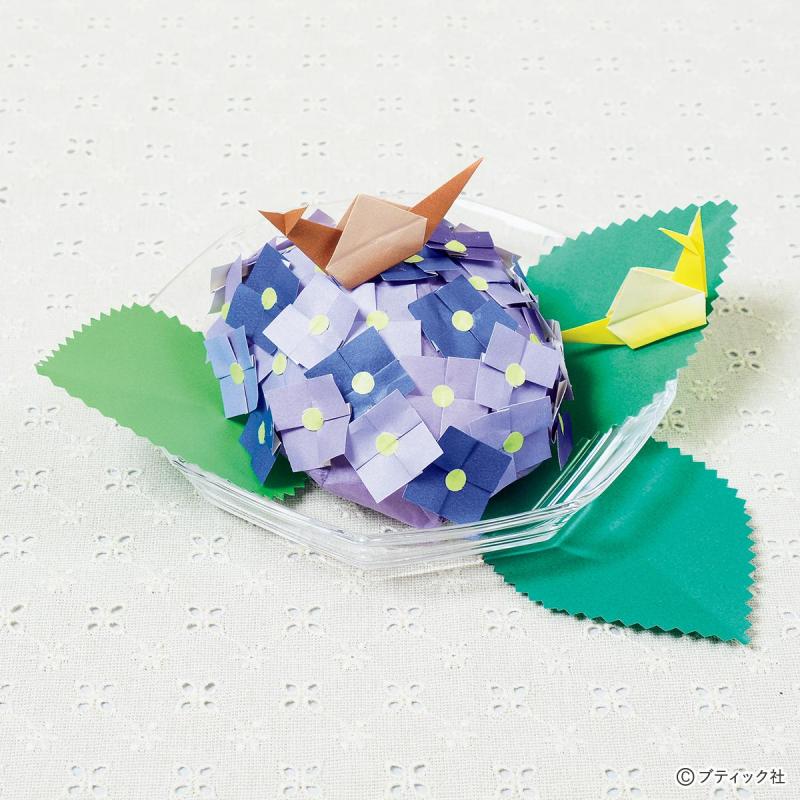
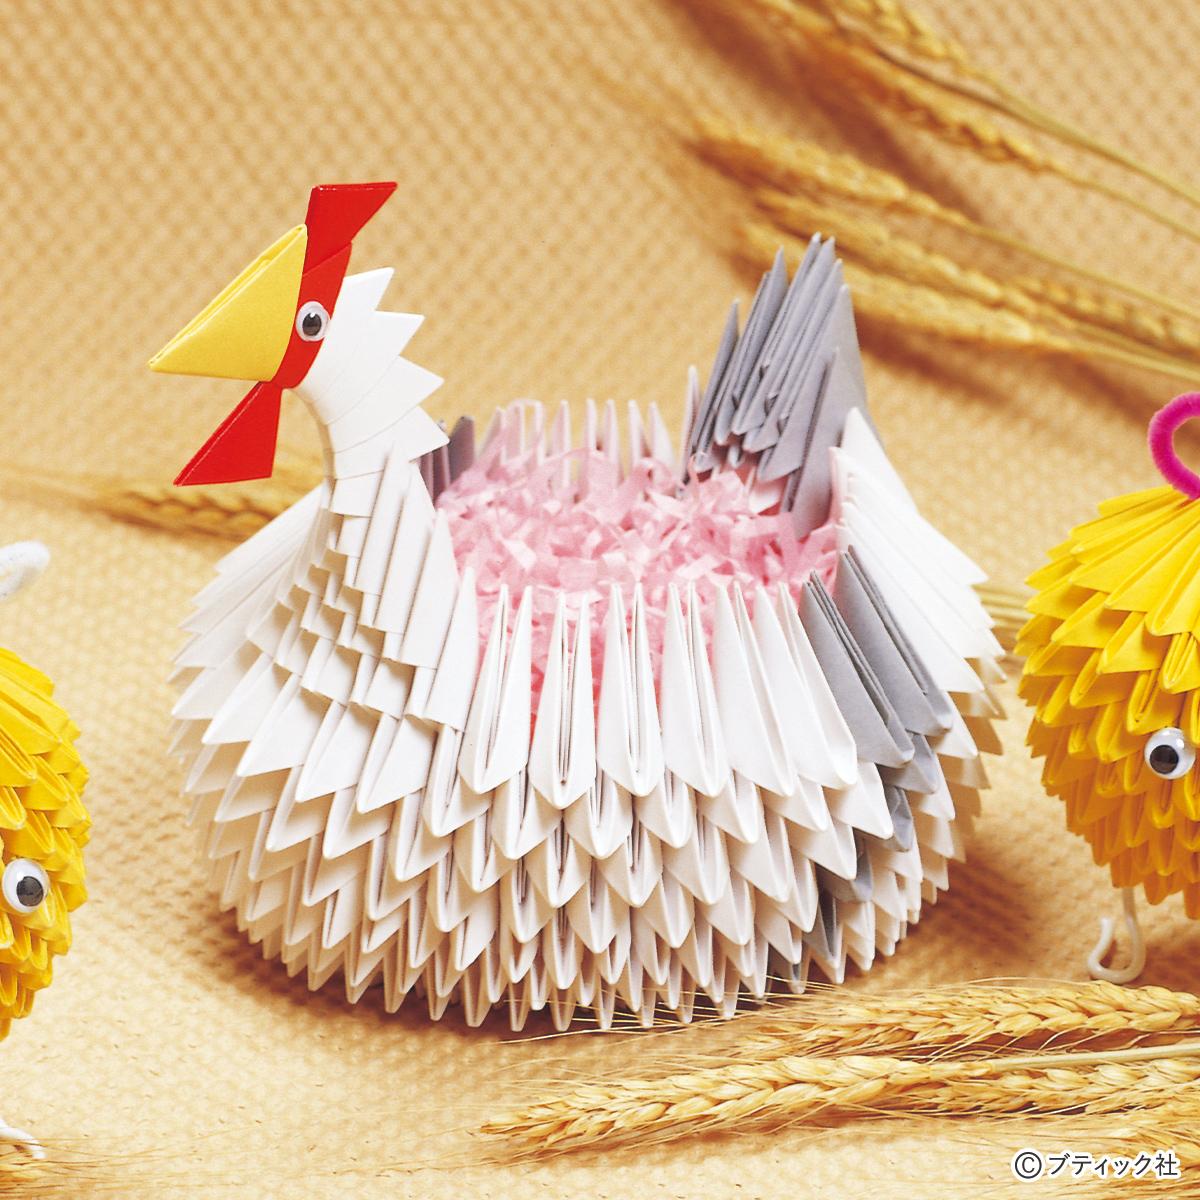
★できあがり寸法:幅約15cm、長さ約14cm
●紙
・5cm×9cm 392枚(白)
・5cm×9cm 23枚(銀ネズミ)
・5cm×9cm 1枚(クリーム)
・5cm×9cm 1枚(赤)
・3.5cm×6cm 2枚(赤・とさか用)
●目 直径0.6cm 2個(動眼)
紙は全て上質紙
※紙は他の紙でも代用できますが、素材の厚みによって、仕上がりのバランスが変わります。
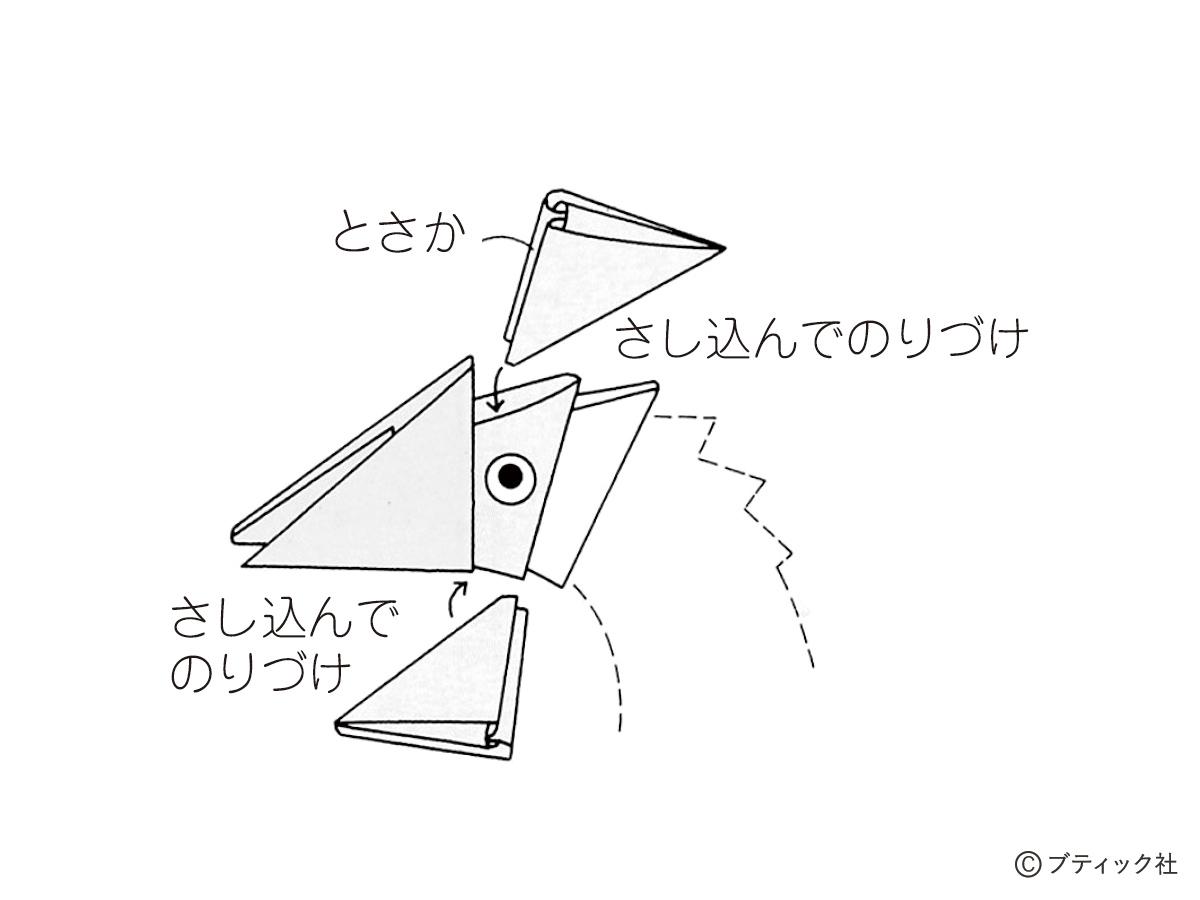
組立図
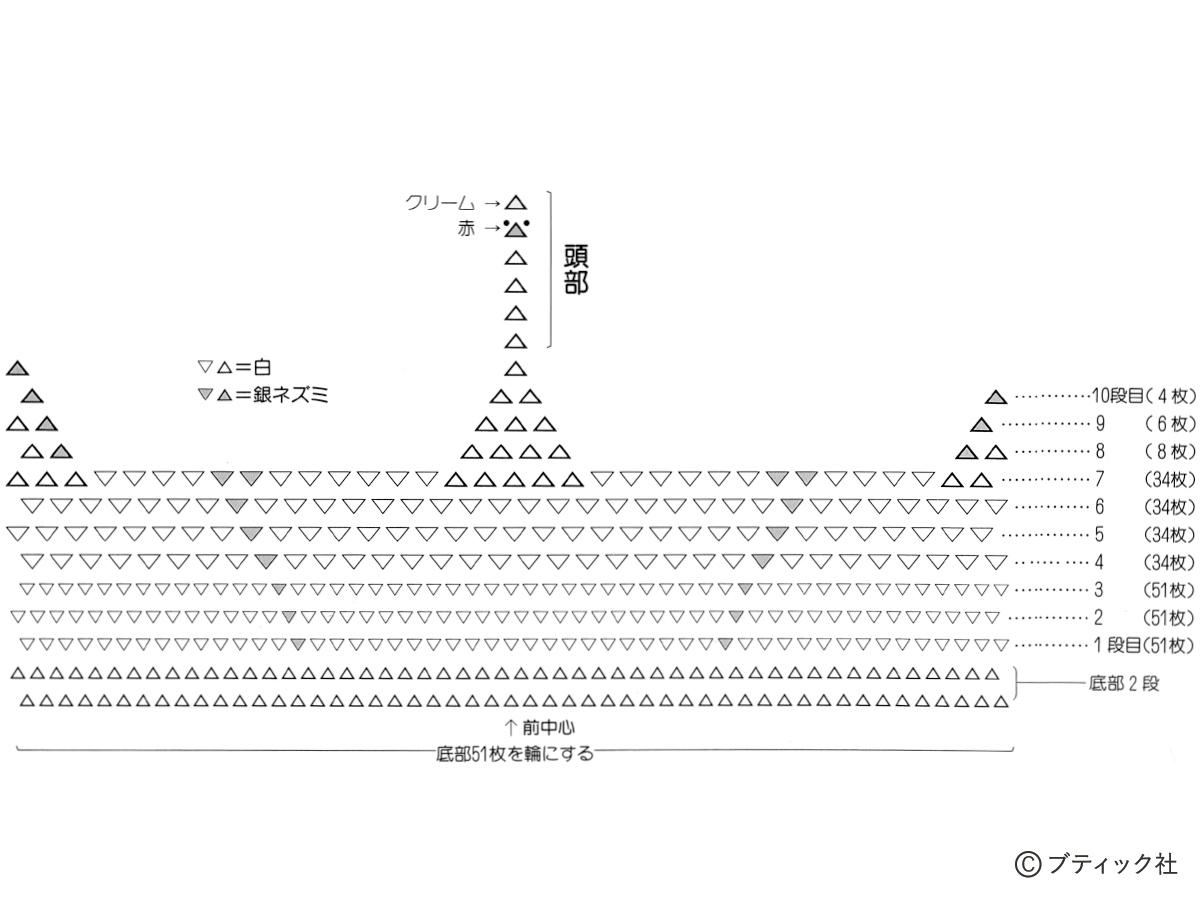
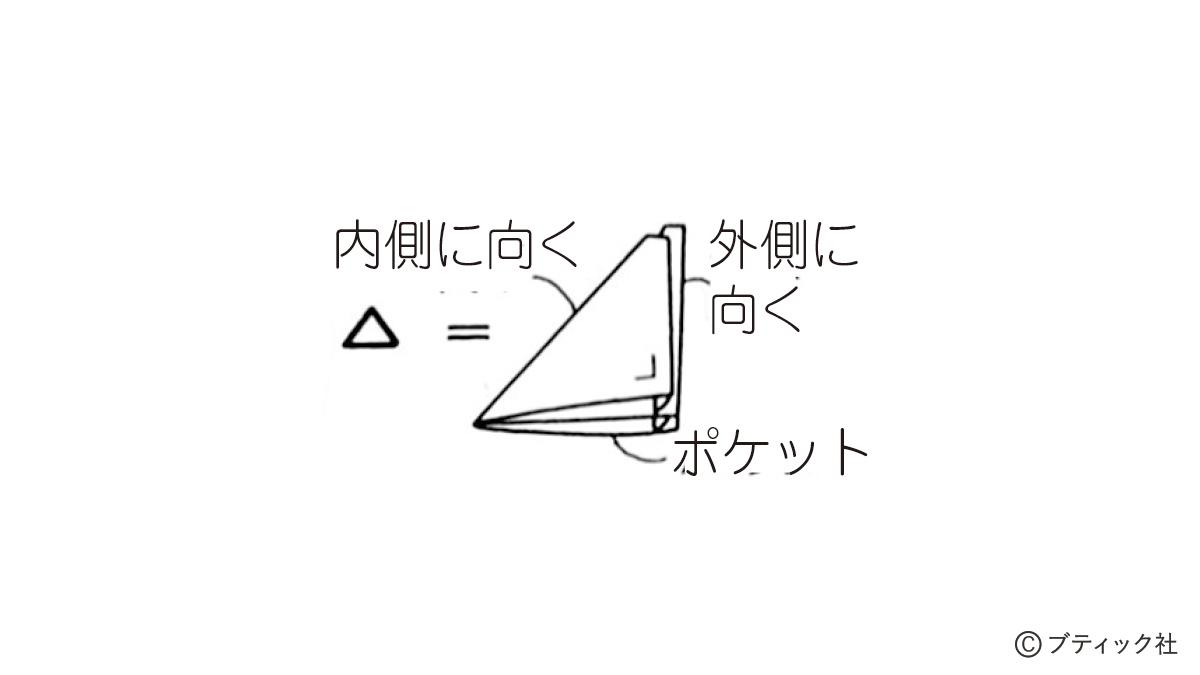
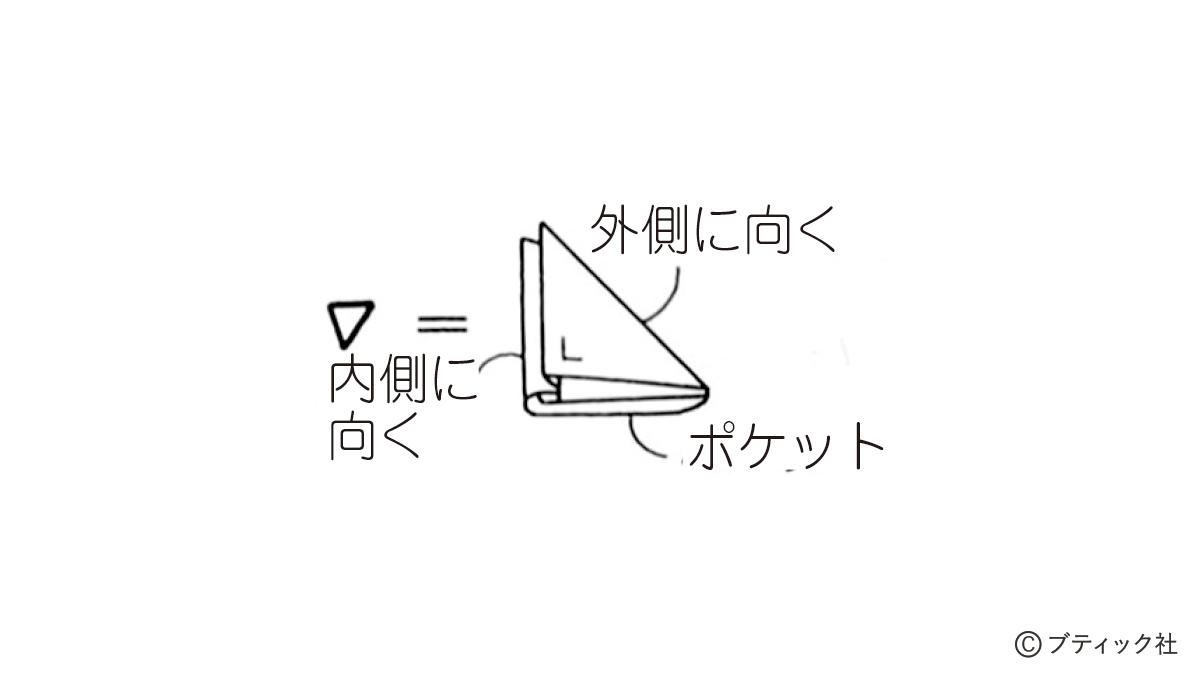
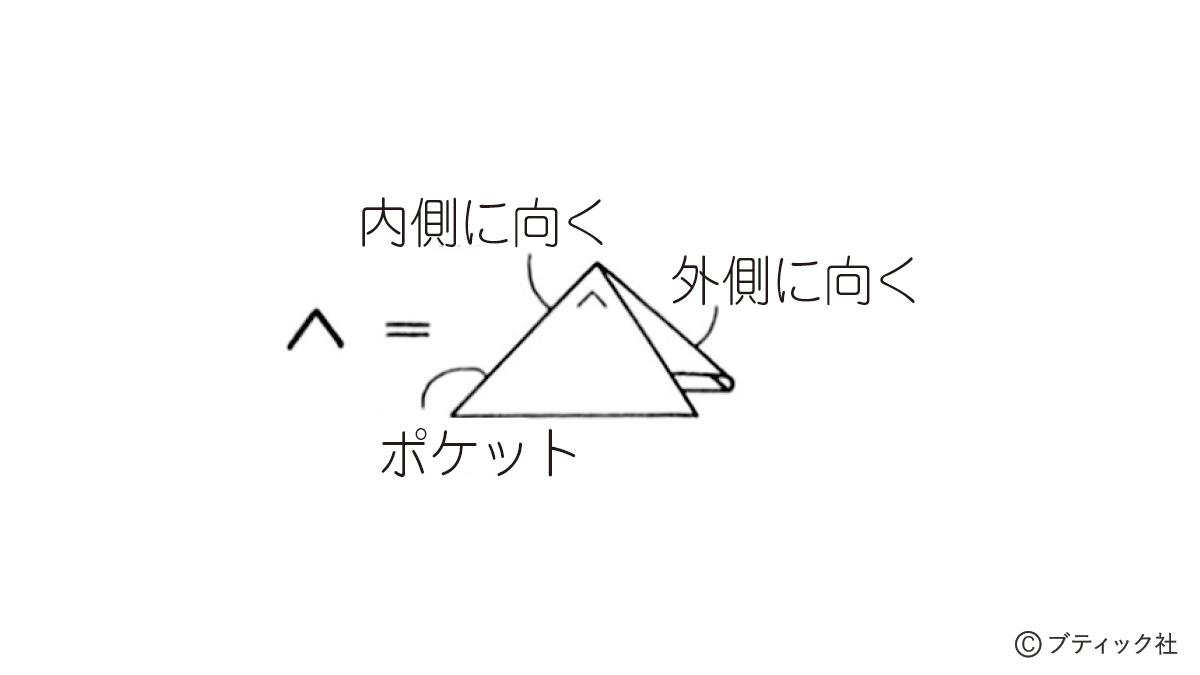
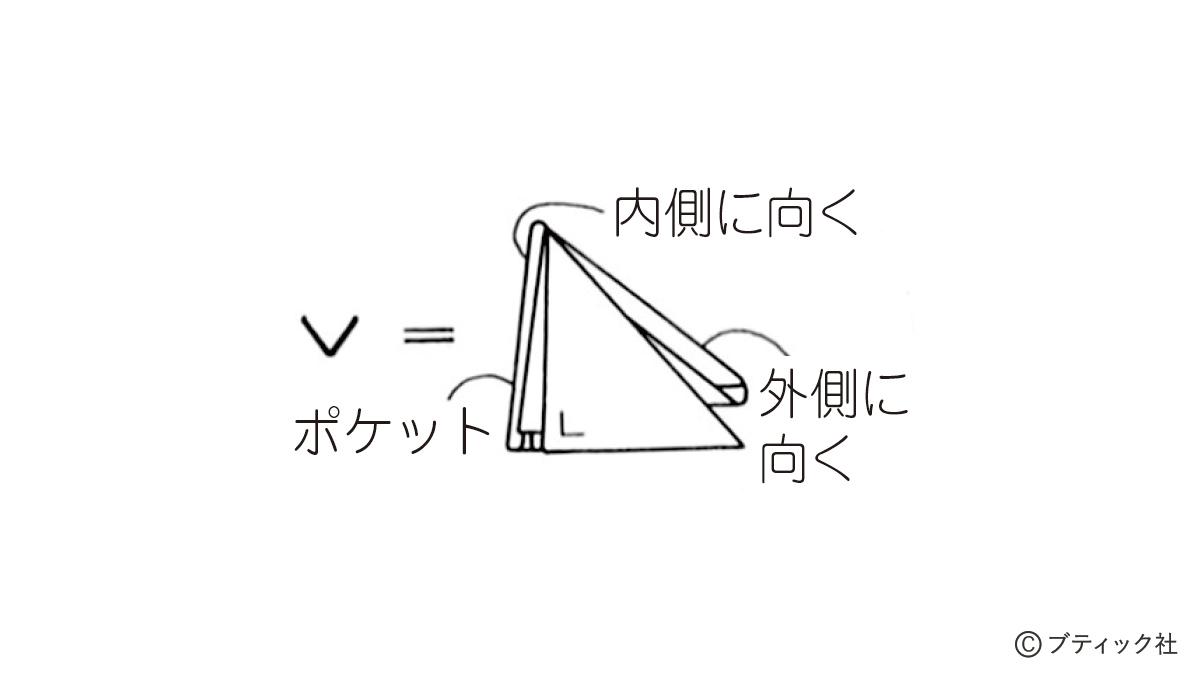
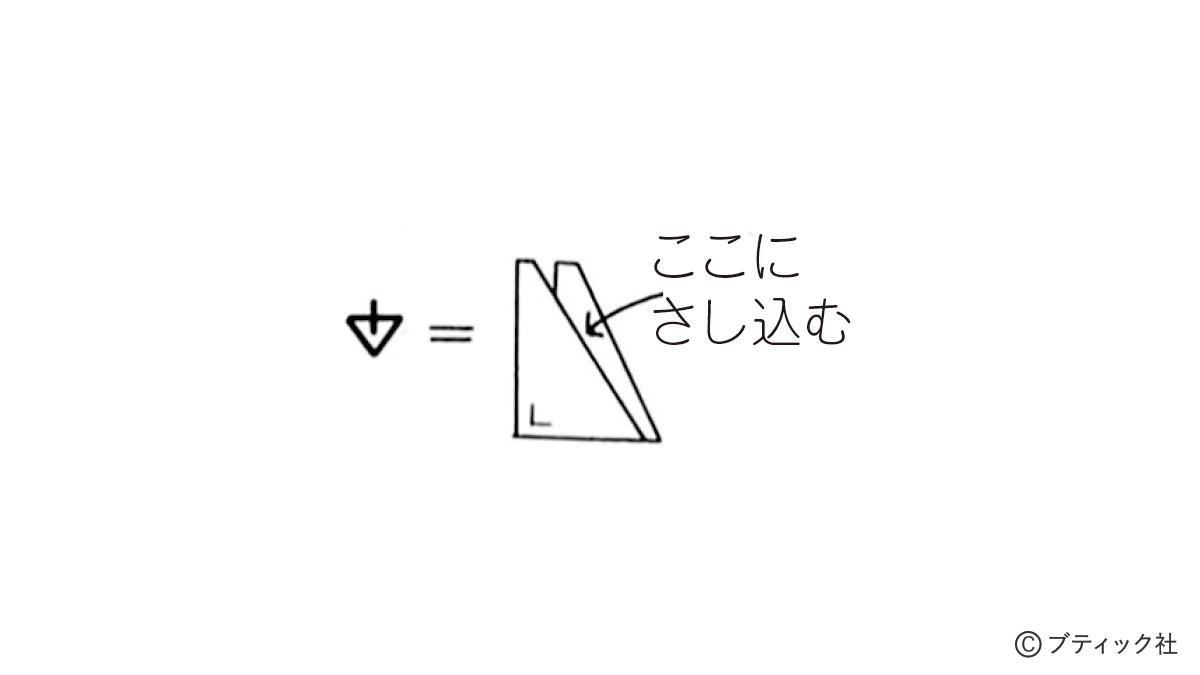
記号の見方
作り方
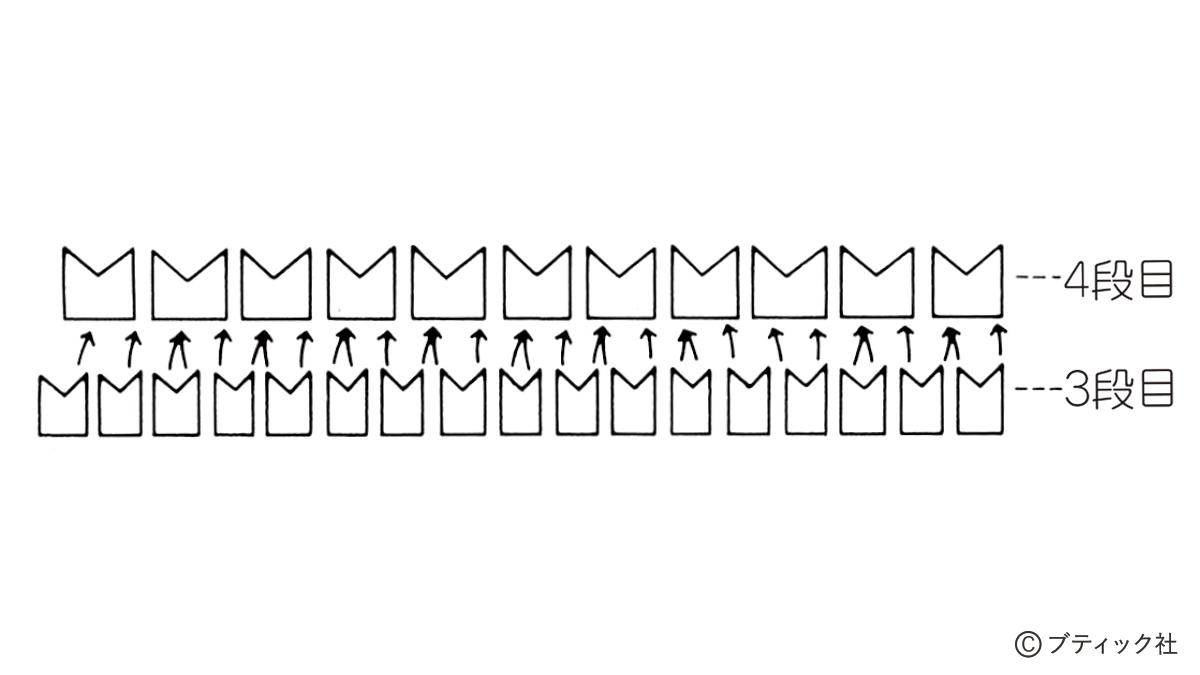
01 三角パーツのとんがり部分にボンドをつけて貼り合わせ、4~5枚の束を作ります。
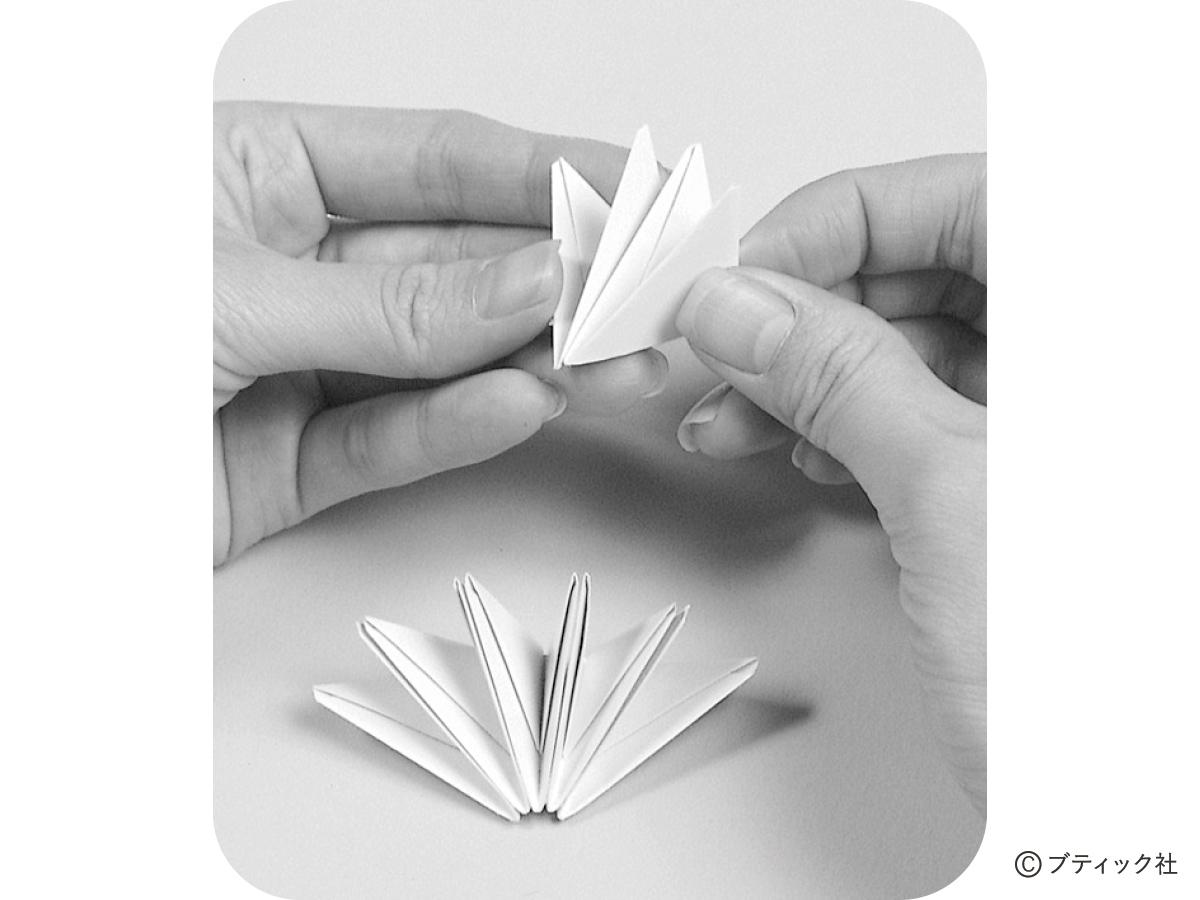
02 4~5枚の束をさらに貼り合わせて底部分の輪を作ります。(51枚)