


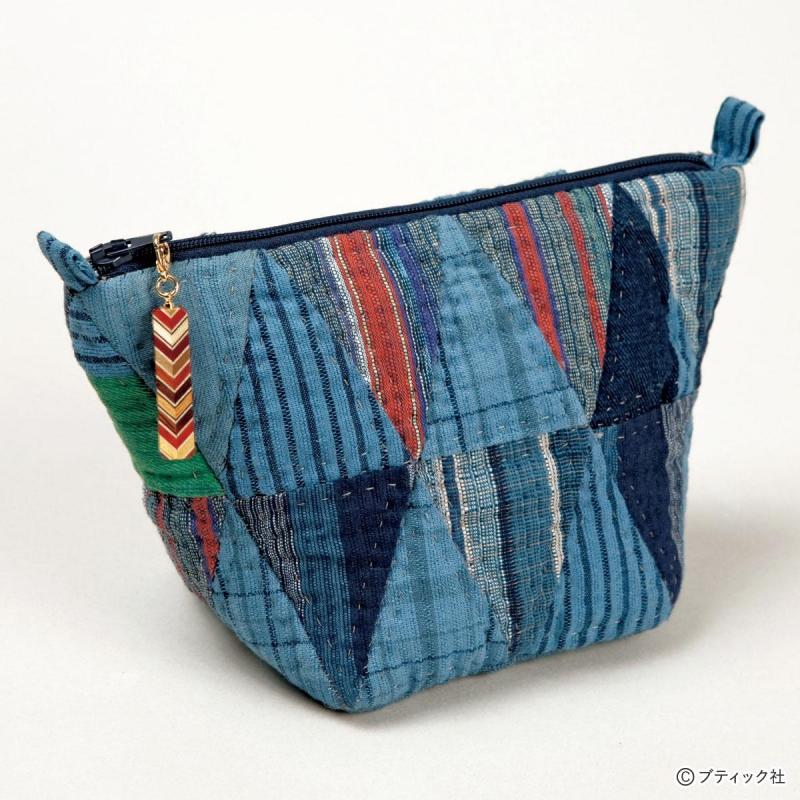
必要な材料
(1点分)
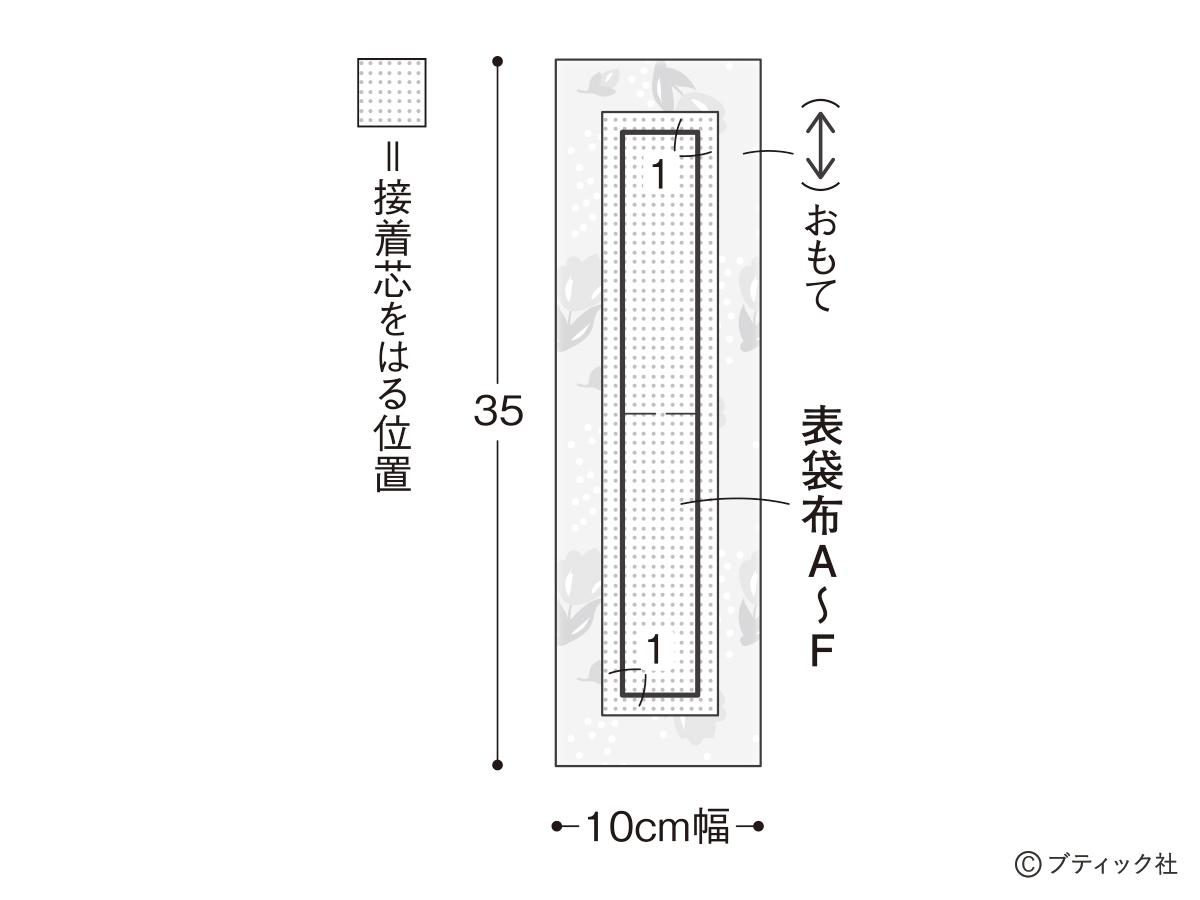
・A布(綿や麻・柄)10cm幅 35cm
・B布(綿・無地)10cm幅 35cm
・C布(綿・柄)10cm幅 35cm
・D布(綿や麻・柄)10cm幅 35cm
・E布(綿・柄や無地)10cm幅 35cm
・F布(綿や麻・柄)10cm幅 35cm
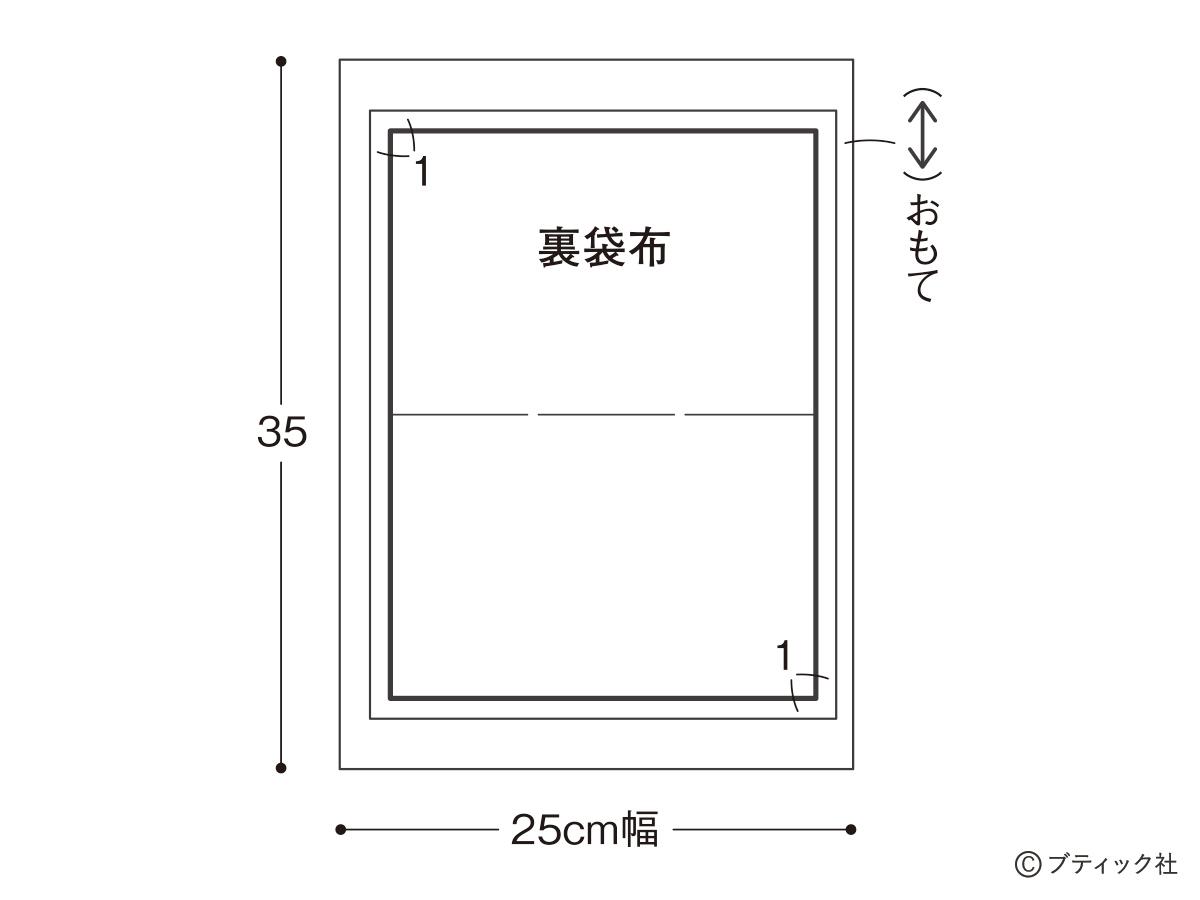
・裏布(綿・柄)25cm幅 35cm
・接着芯 40cm幅 35cmhuyou
・フラットニットファスナー(20cm) 1本
製図
※製図に縫い代は含まれていません。
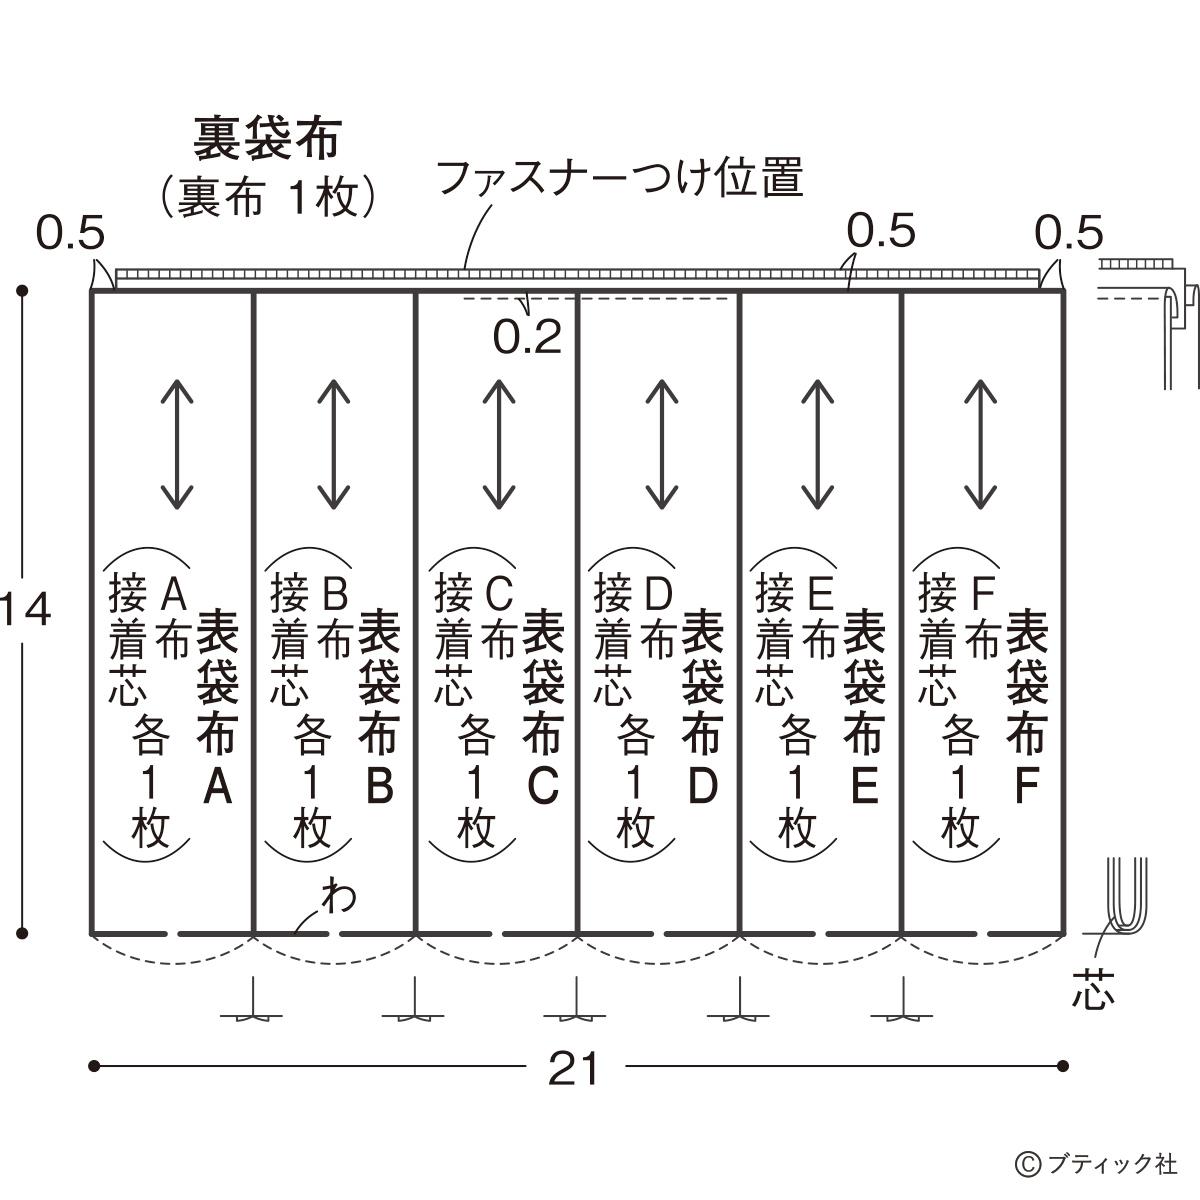
A~F布の裁ち方図
裏布の裁ち方図
作り方
★縫い始める前に接着芯をはります。
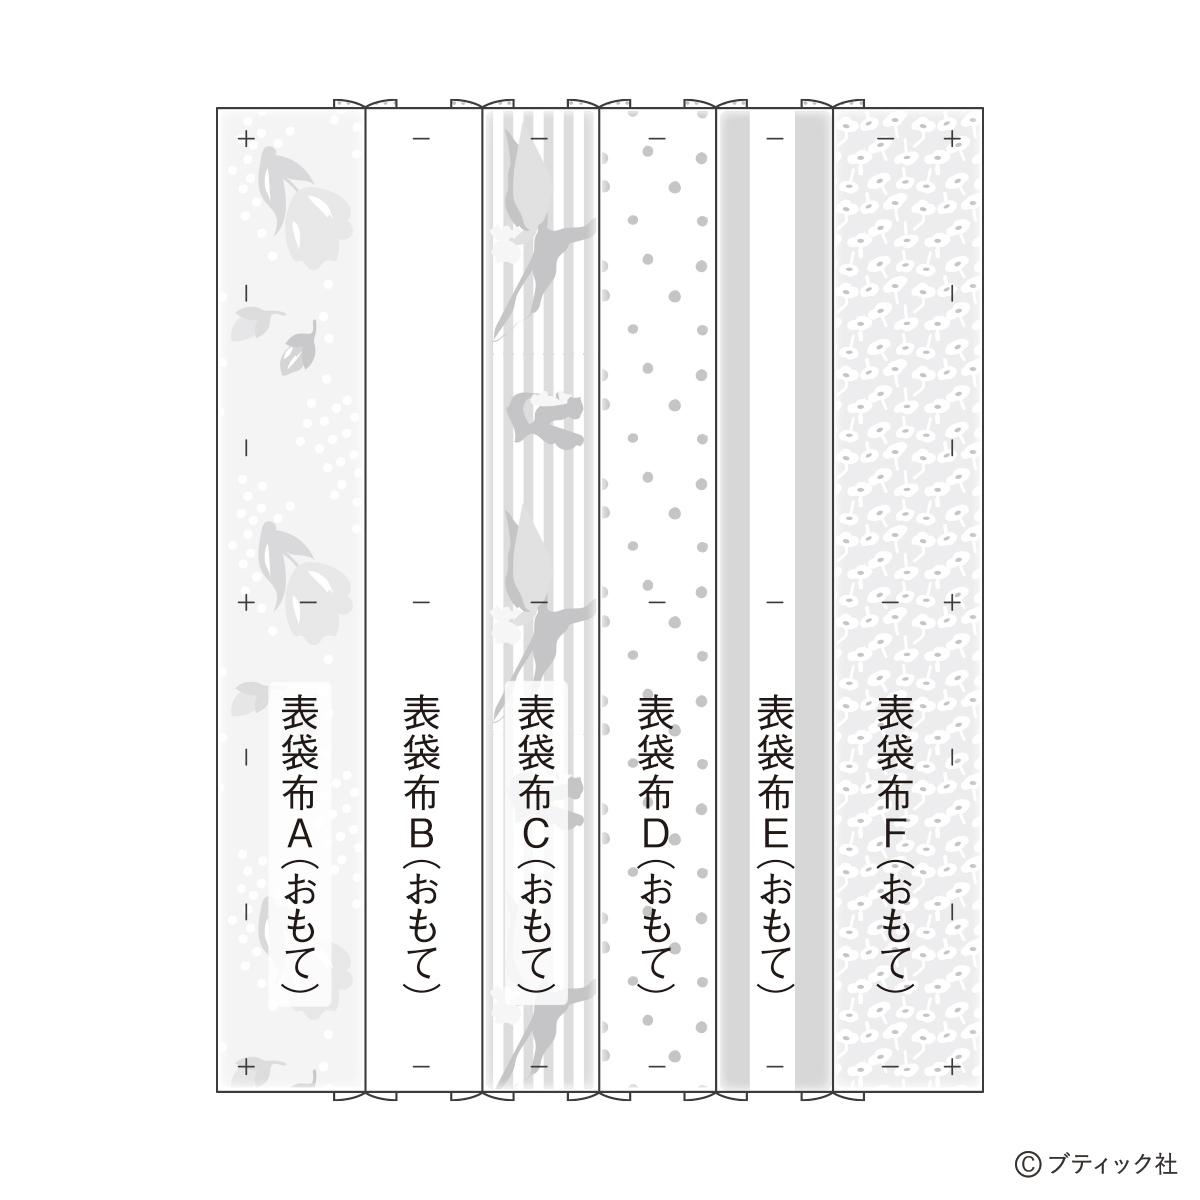
01 表袋布を作る

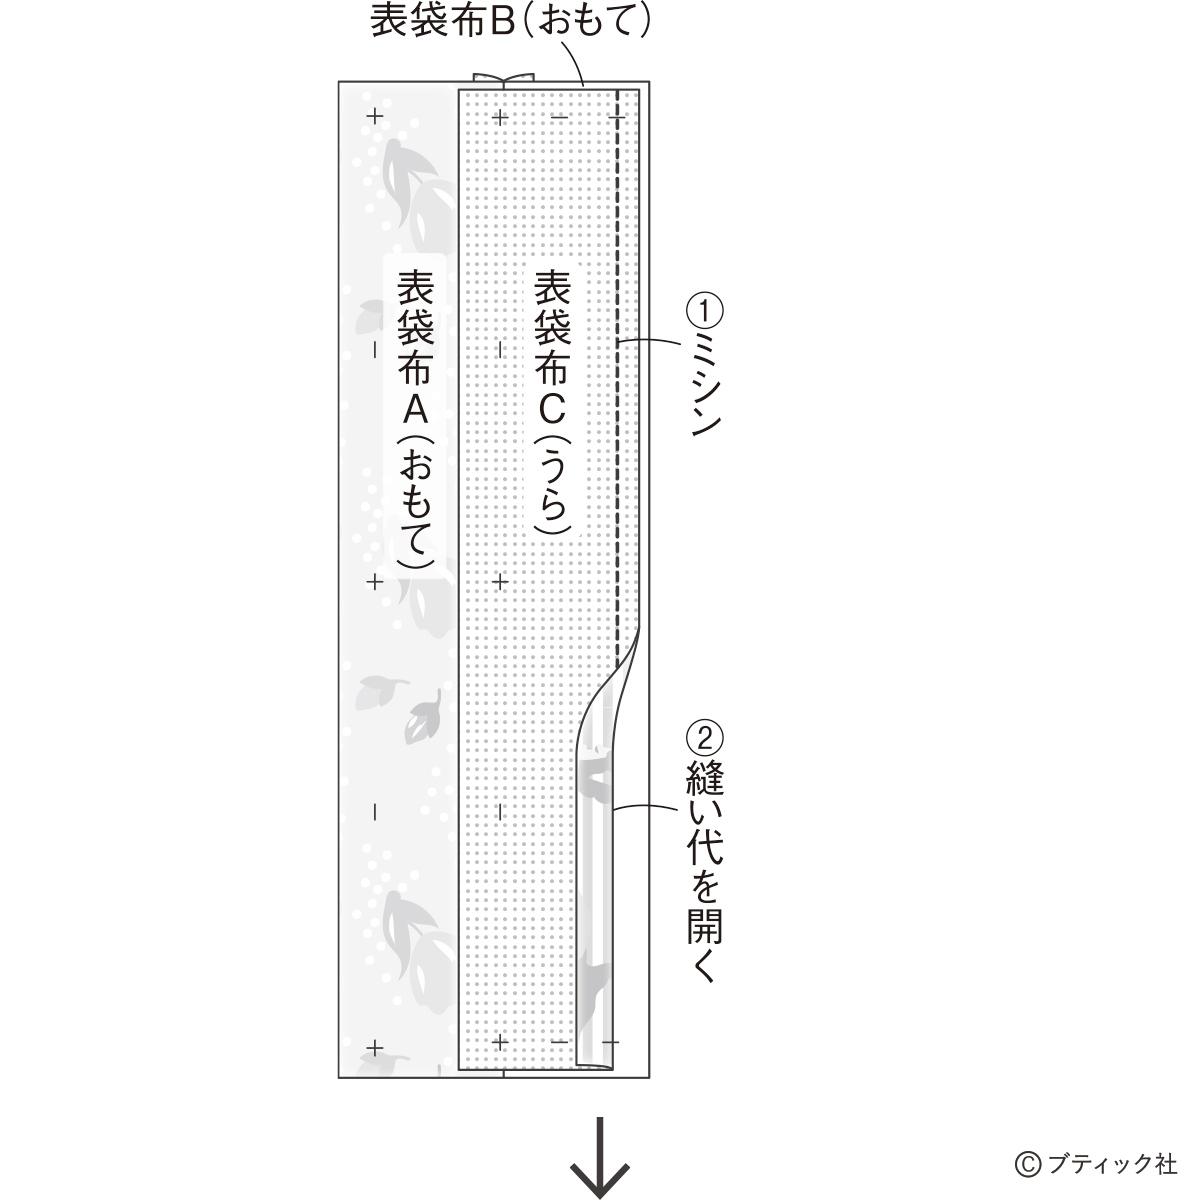
※同様に6枚縫い合わせる。
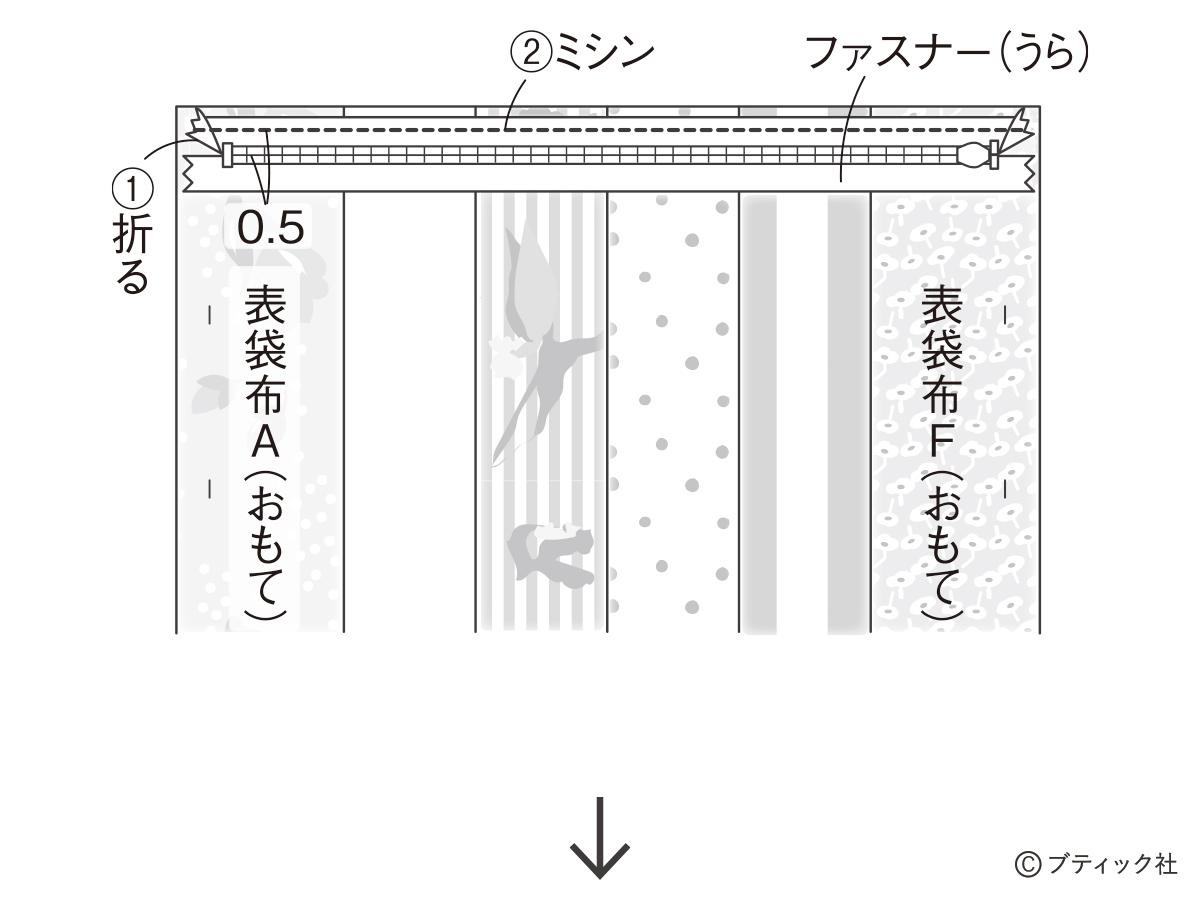
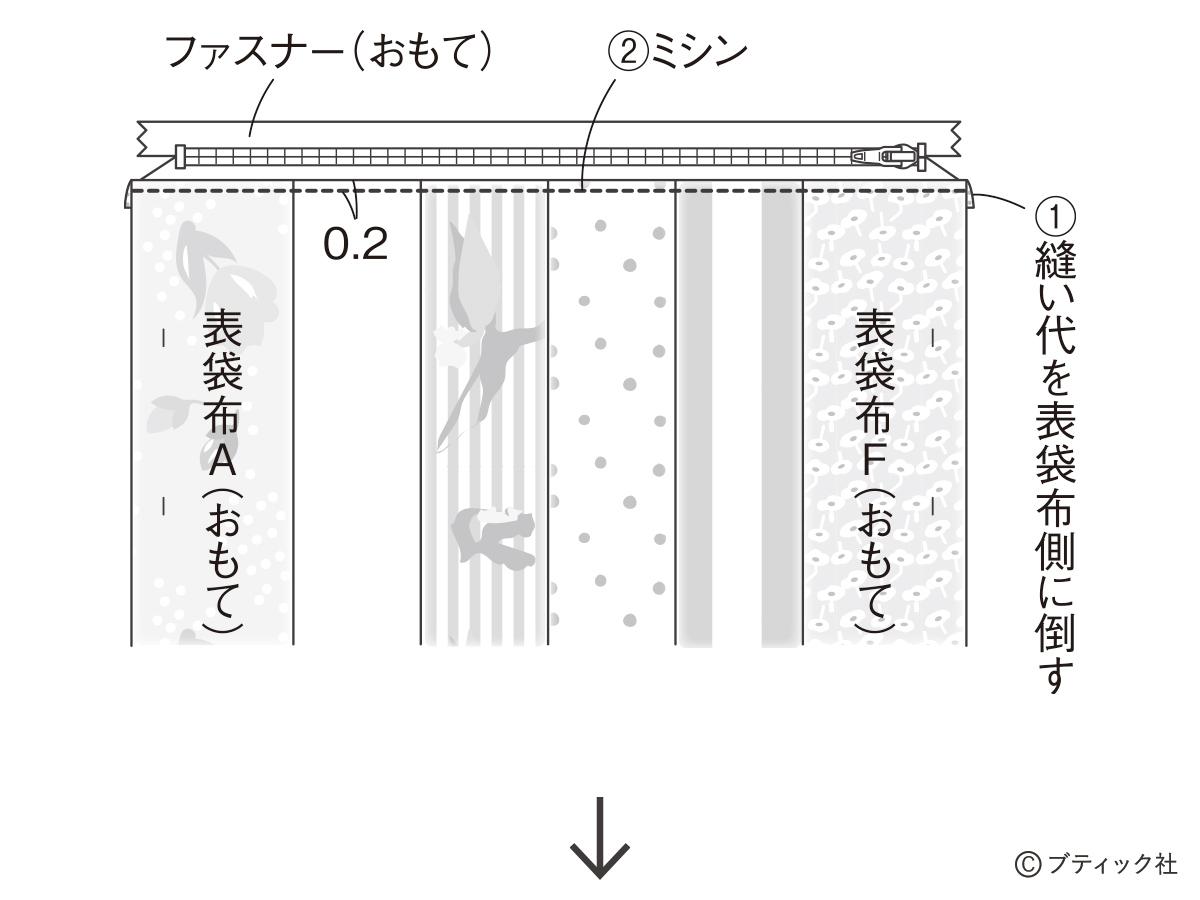
02 表袋布にファスナーをつける
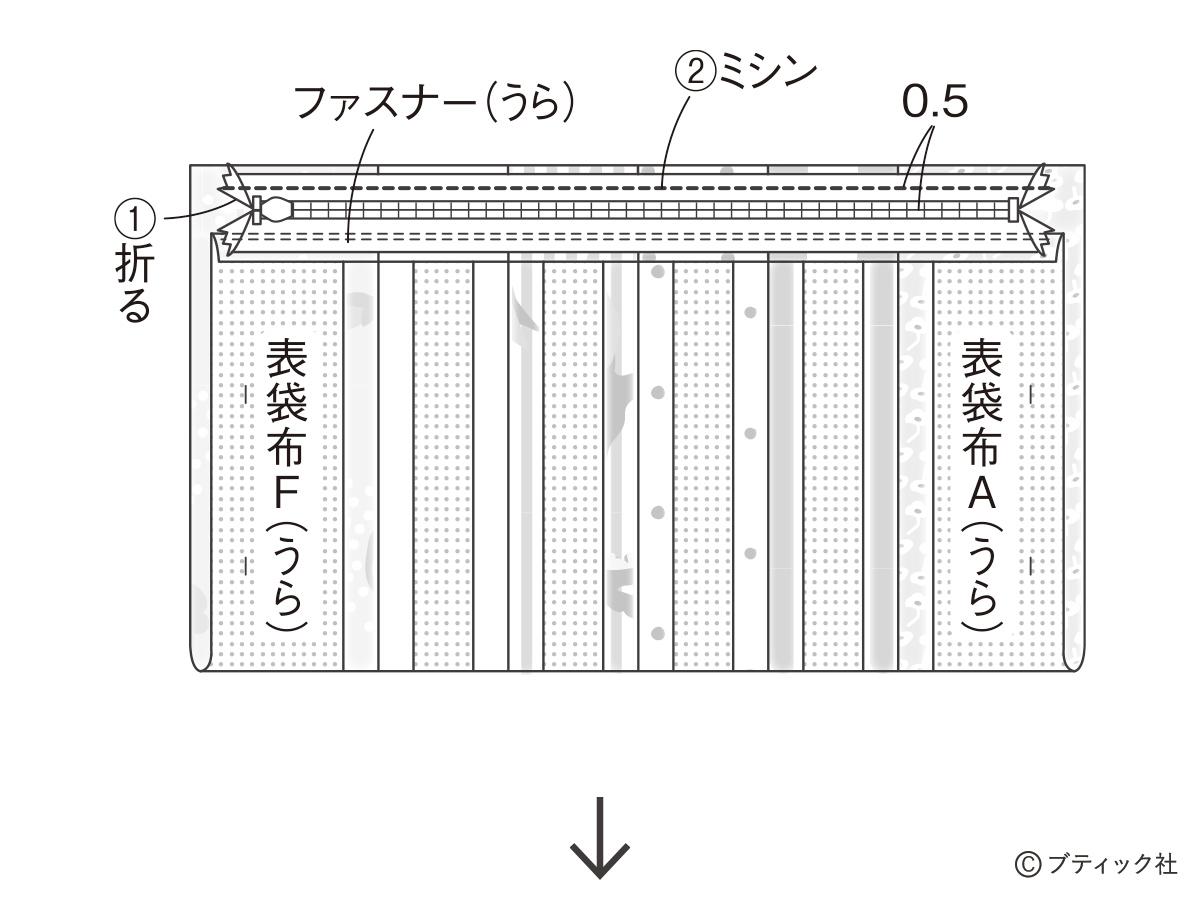


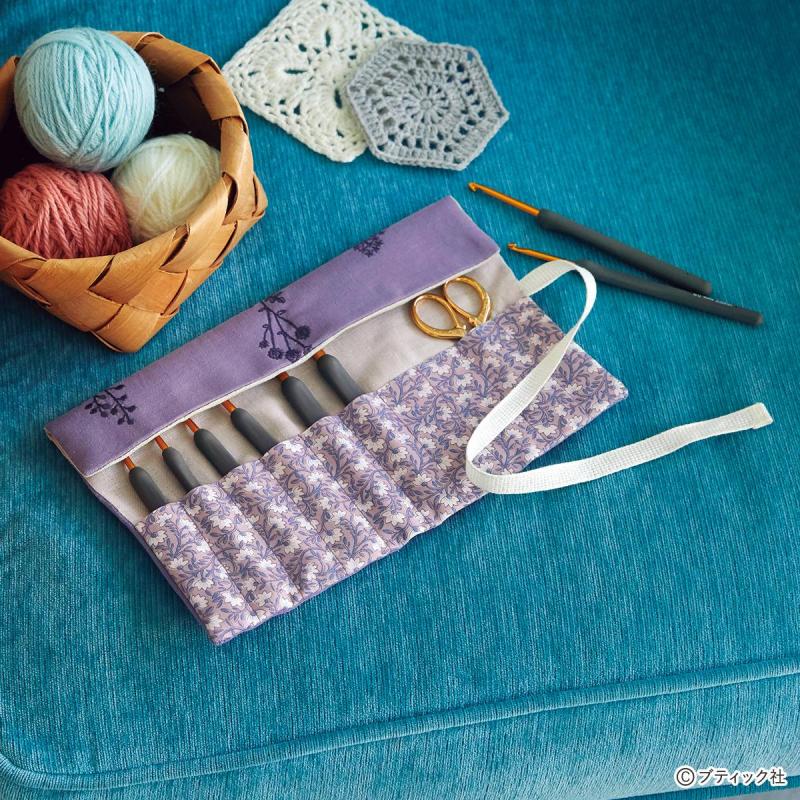


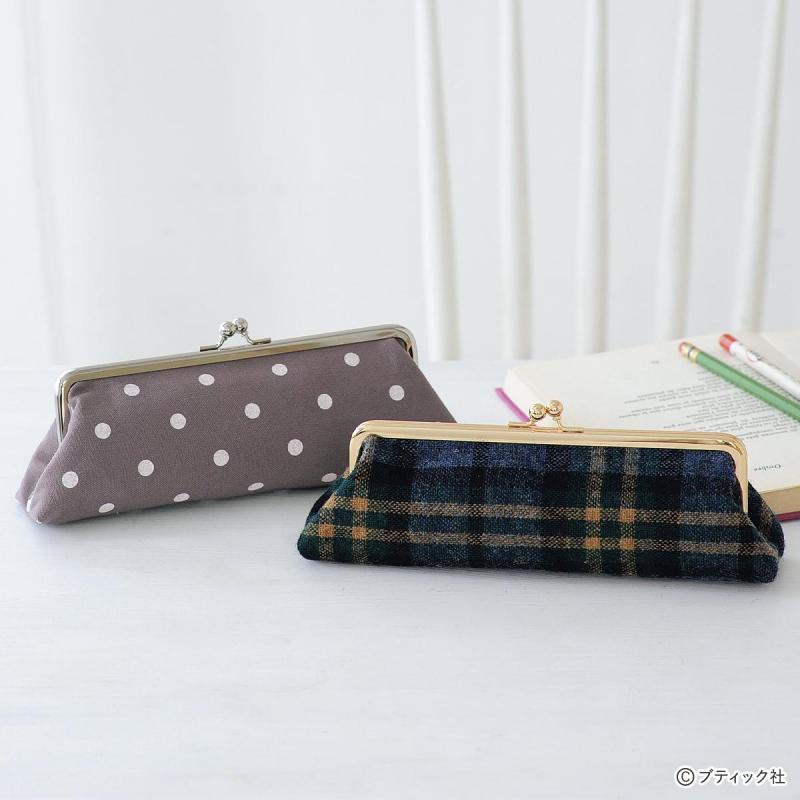


同じ幅のパーツで作ります