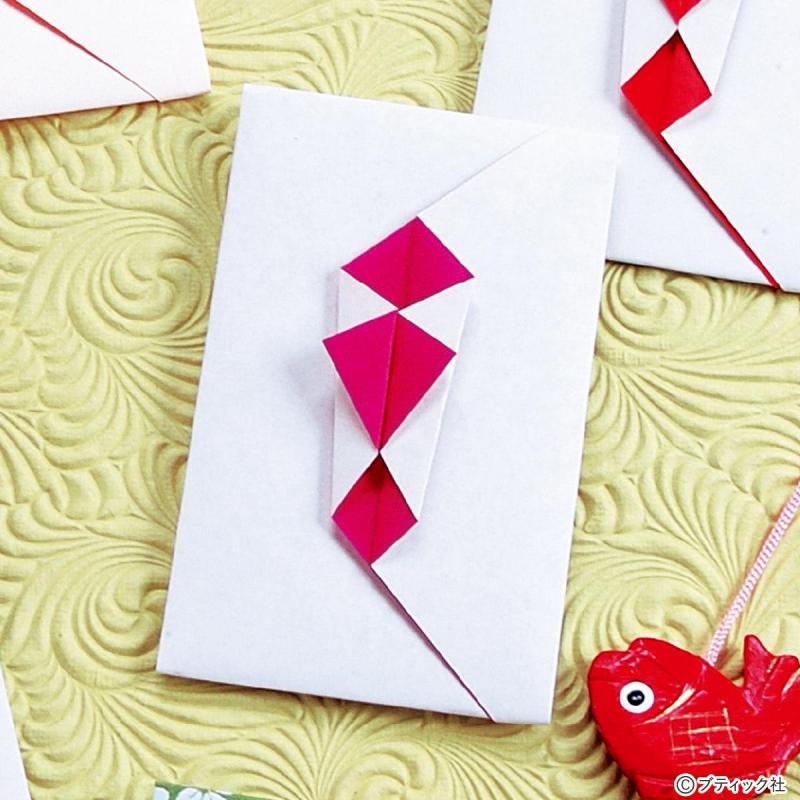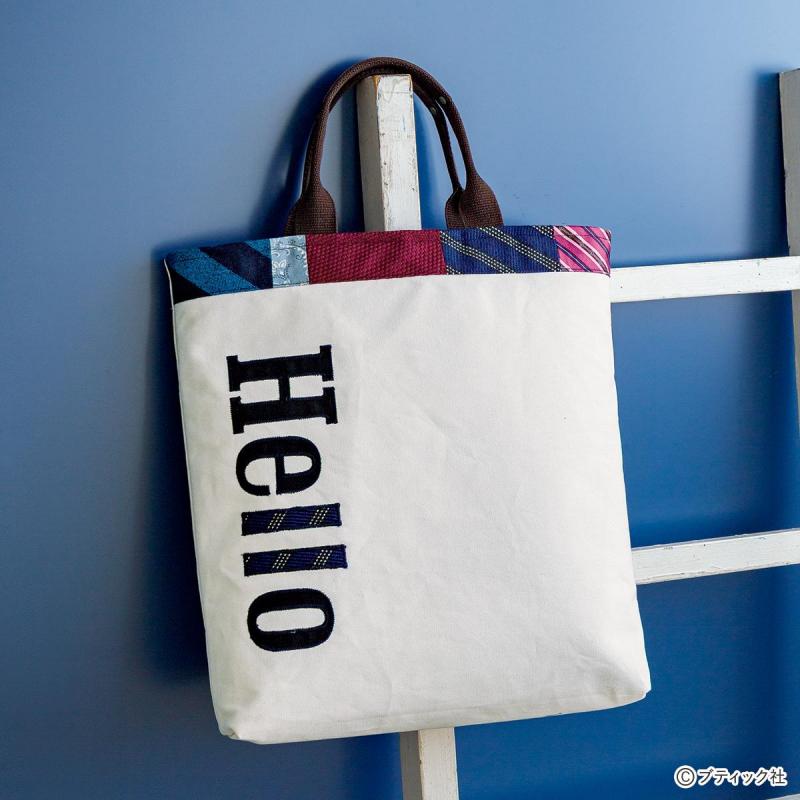


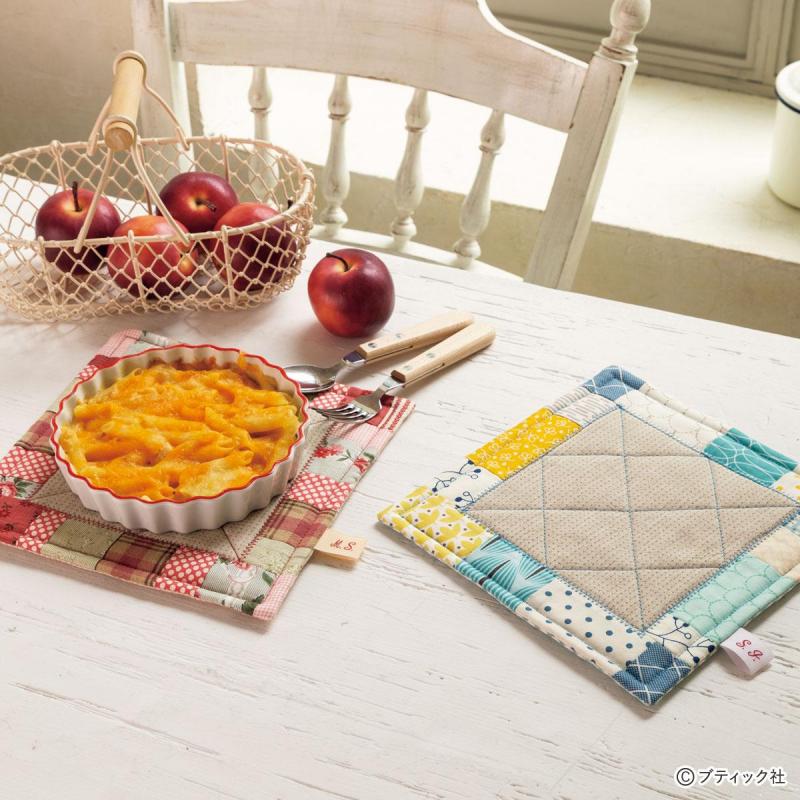

用尺と材料(1点分)
★出来上がりサイズ:21×21cm
・ピース用はぎれ各種 A用布20×20㎝ 裏布25×25㎝
・片面接着キルト綿45×25㎝
・好みのタグ1枚
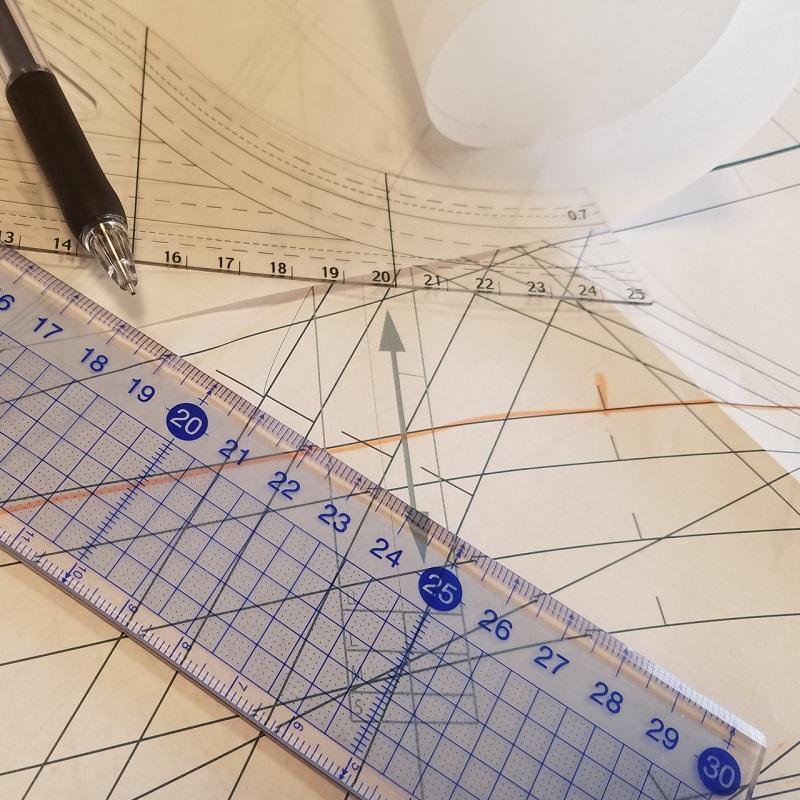
製図
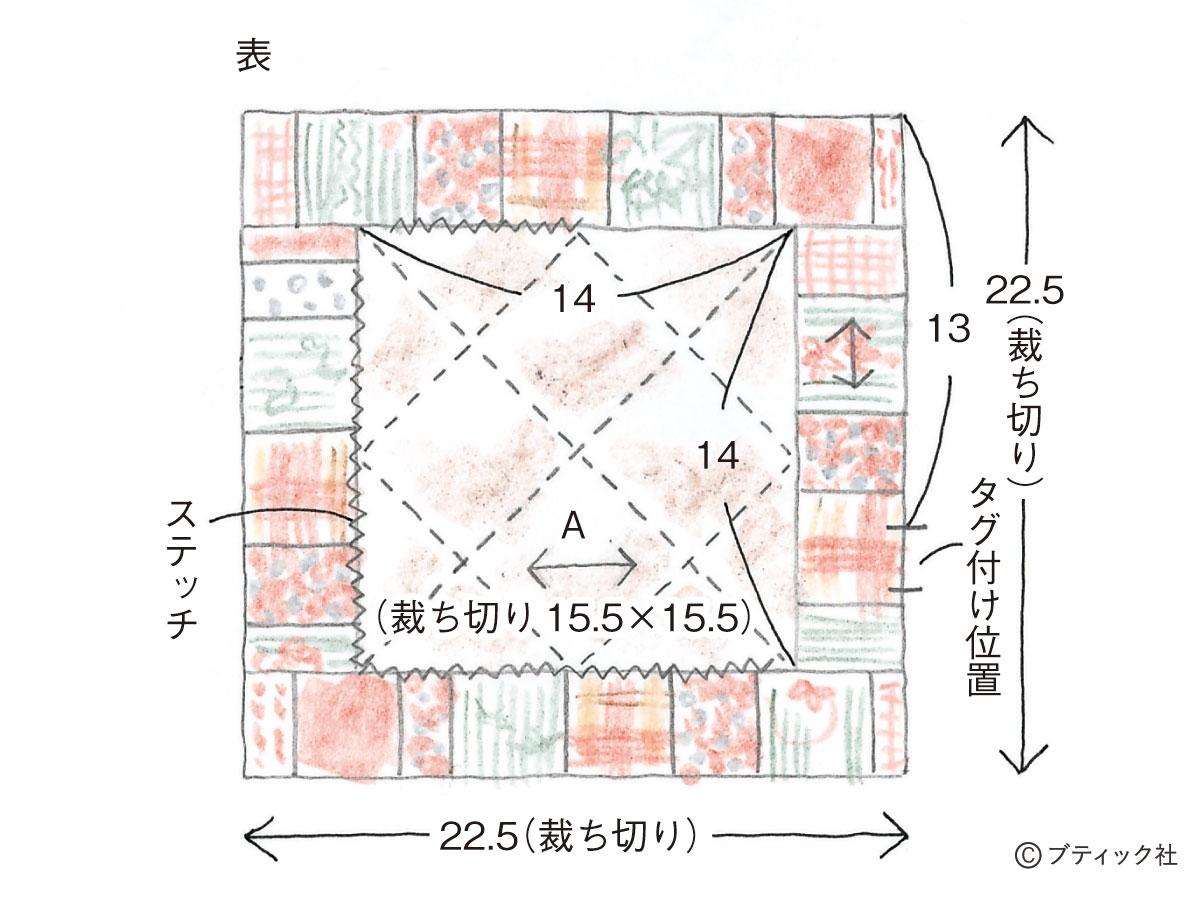
作り方順序
ピースを接いで帯を作り、Aと縫う(縫い代0.7cm)→図を参照して仕立てる。
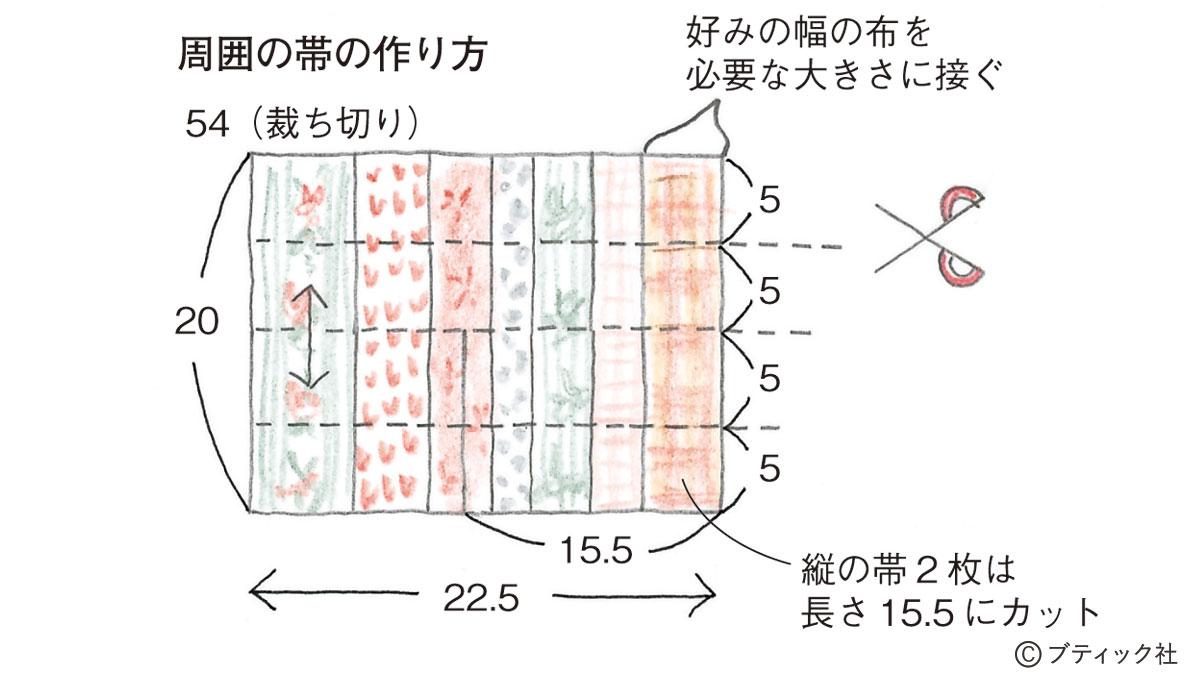
周囲の帯の作り方
【No.54】
・好みの幅の布を必要な大きさに接ぐ
・縦の帯2枚は長さ15.5にカット
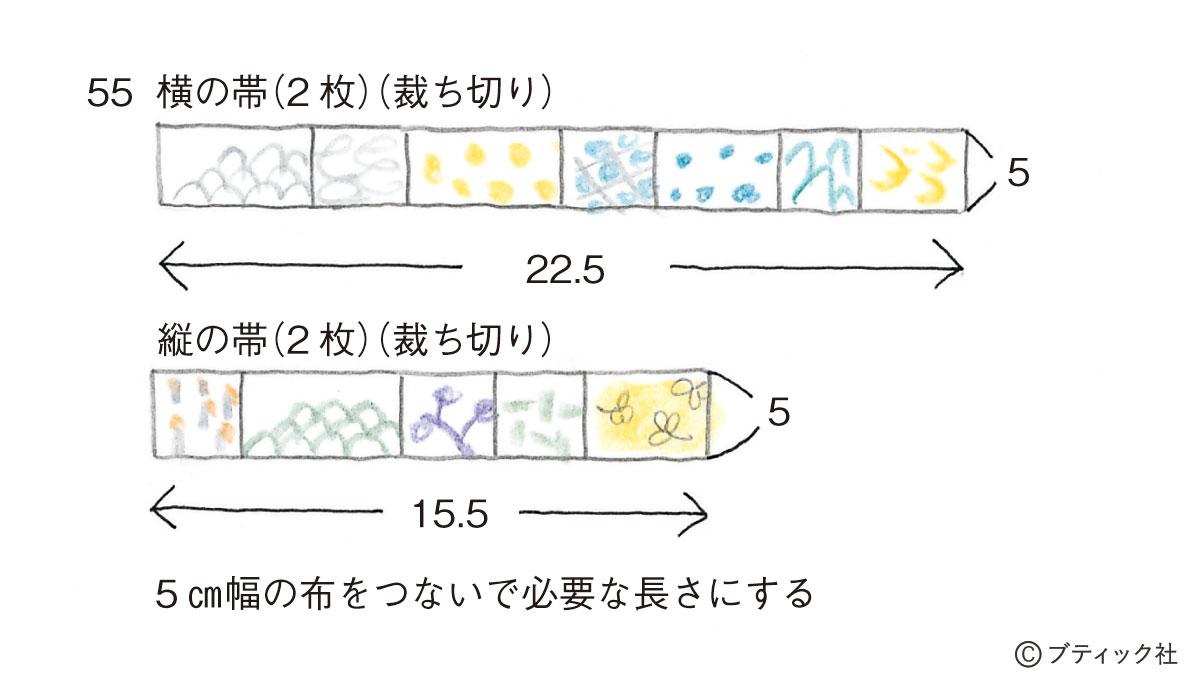
【No.55】
5cm幅の布をつないで必要な長さにする
仕立て方
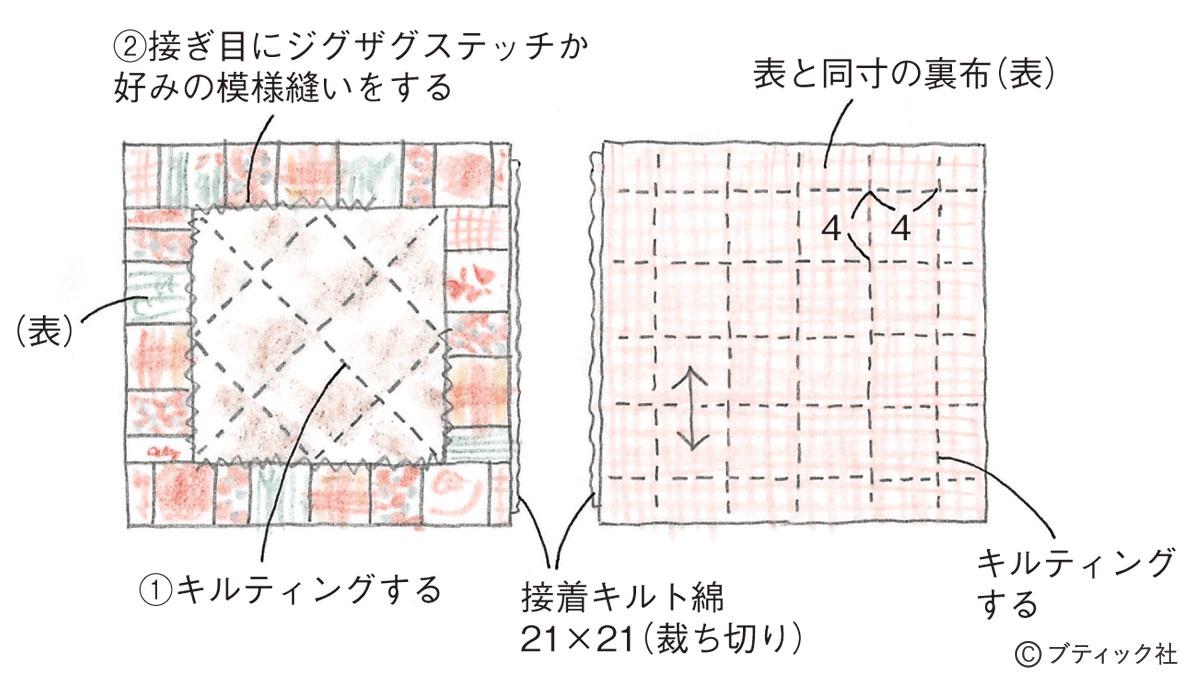
01 キルティングする
02 接ぎ目にジグザグステッチか好みの模様縫いをする
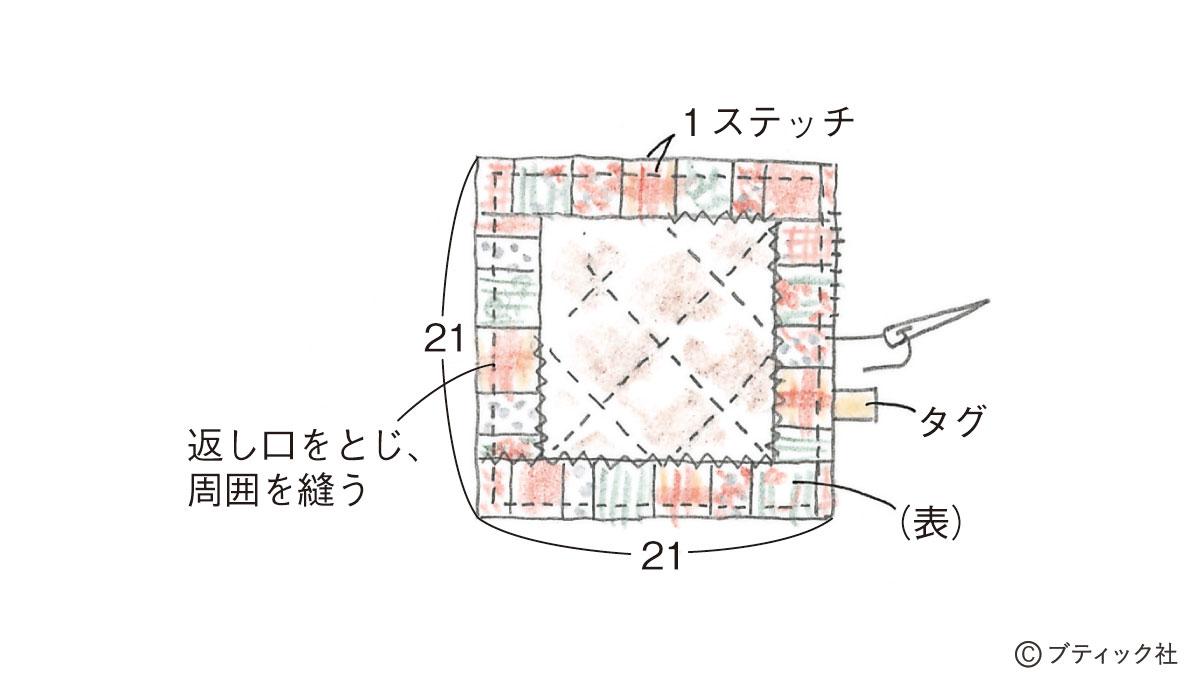
03 表と裏布を中表にして周囲を縫い、表に返す
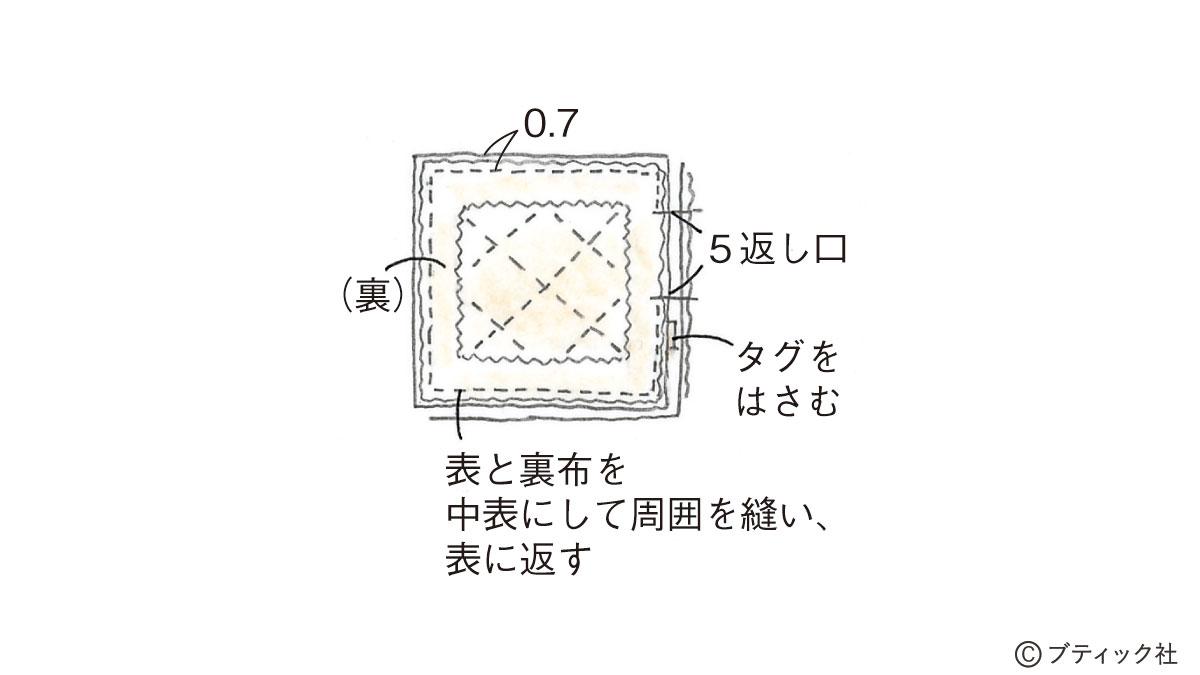
04 返し口をとじ、周囲を縫う